How to Make Product Photos with Consistent Backgrounds in Bulk
Make product photos with consistent backgrounds for a whole catalog: three methods, from a shared scene spec to one background plate, with the exact settings.
A catalog looks professional when the products change and nothing else does. Same surface, same light, same horizon line — so the eye compares the products, not the photography. That is easy in a studio with a fixed set, and surprisingly hard with AI: every image is rendered from scratch, so ask for "a marble counter" twenty times and you get twenty different marble counters.
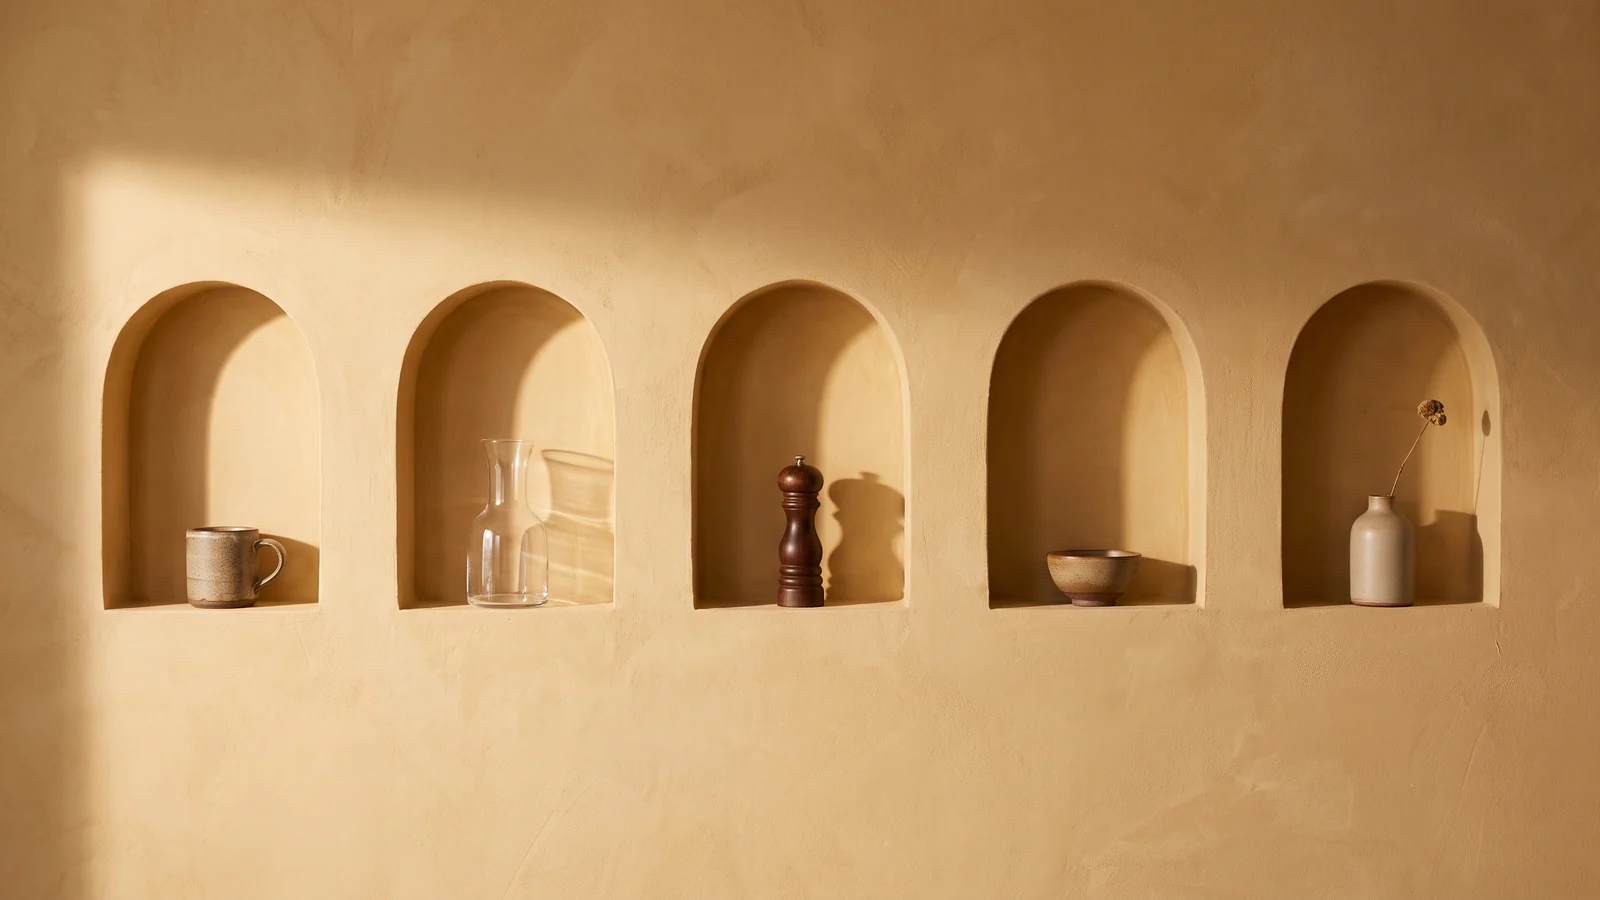
This guide shows three ways to get product photos with consistent backgrounds out of one bulk run, ordered from fastest to most exact. Each one trades a little effort for a little more sameness, and you can pick per job. The sample images were all made with BulkImagen from three unbranded kitchen products, starting from one clean reference photo of each: a stoneware mug, a glass carafe and a wooden pepper mill.
If you have never restaged a product from a reference photo before, start with our step-by-step guide to bulk product photos — it covers uploading references, the Per image mode and downloading. This article assumes those basics and focuses only on the background.
Why AI backgrounds drift#
Each image in a batch is a separate render. The model reads your words and your reference image, and invents everything you didn't pin down. Three things decide how much it invents:
- How specific the scene text is. "On a kitchen counter" leaves material, colour, angle, light and props open. Every open question gets a new answer per image.
- Whether the scene itself is shown, not just described. A picture of the background removes most of the guessing; words alone never remove all of it.
- Whether the background is generated at all. If the product is cut out and placed on a fixed plate, the background cannot drift because nobody rendered it.
The three methods below map exactly onto those three levers.
| Method | How consistent | Effort | Best for |
|---|---|---|---|
| 1. One locked scene spec | Similar: same set, small differences | One batch for the whole catalog | Lifestyle and gallery images |
| 2. A shared background plate | Close: same surface and props | One small batch per product | Hero images, collections |
| 3. Cut-outs on your own template | Identical, by construction | Batch plus a compositing step | Marketplace mains, ads, white or brand-colour backgrounds |
Method 1: Lock the scene in one sentence#
The cheapest fix is to stop describing the background differently for each product. Write one scene spec — a single sentence that answers every question the model would otherwise answer at random — and use it, word for word, for every product in the batch.
A good scene spec names five things:
- Surface: material, colour and finish ("honed white Carrara marble with soft grey veining").
- Backdrop: what is behind the product and how far ("a plain warm-white plaster wall about one metre behind").
- Light: direction, quality and time of day ("soft morning window light from the left, gentle shadow to the right").
- Camera: height and angle ("eye level, straight on, product centred, 50 mm look").
- Props: exactly which, and where — or "no props".
Here is the spec we used for all three products:
standing on a honed white Carrara marble counter with soft grey veining, plain warm-white plaster wall about one metre behind, soft morning window light from the left with a gentle shadow falling to the right, eye level, straight on, product centred with generous space around it, no props, no people, no textThen set up the batch:
- Upload one reference photo per product.
- Choose Per image, so every product is paired with the scene line.
- Paste the scene spec as the only prompt line, followed by your product protection sentence (the one from the product photo guide).
- Keep one model, one aspect ratio and one resolution for the whole run.
Twenty products × one line = twenty images, all in the same described set.
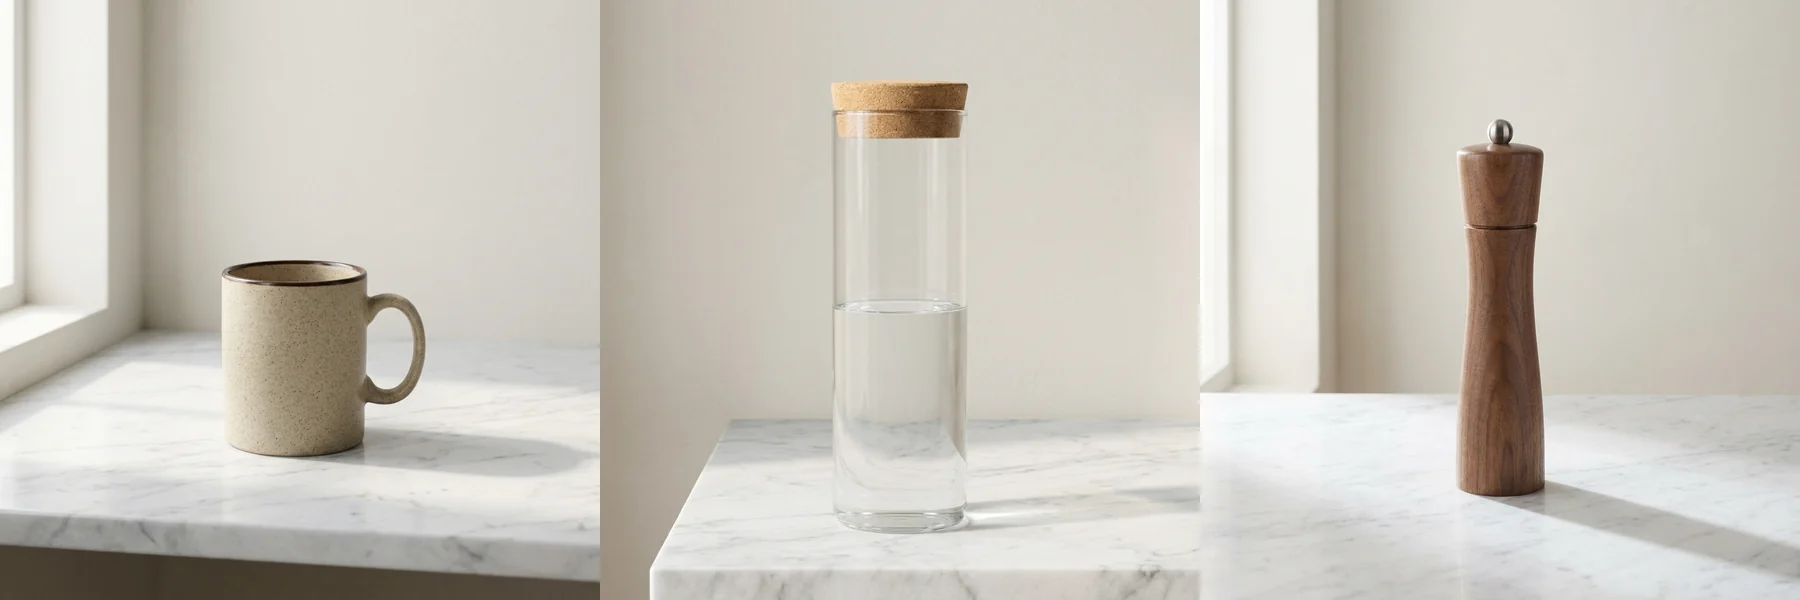
What to expect: the three images clearly belong to one shoot — same marble, same wall, same morning light from the left, shadows falling right. But they are three different counters. In our run the camera sat at a different height each time, the front edge of the counter came and went, the window appeared in two images and not the third, and the products came out at different sizes in the frame. For a product gallery that is fine — real shoots vary that much between setups. For a grid of marketplace main images it is not.
Tip
If one element keeps drifting, it is under-specified. Add the answer to the spec rather than regenerating and hoping. "Shadow to the right" fixed most of our lighting differences; "about one metre behind" fixed the wall jumping in and out of focus.
Method 2: Show the background, don't just describe it#
When "similar" is not enough, give the model a picture of the background. Generate (or photograph) one empty background plate — the scene with no product in it — then send it together with each product photo.
In BulkImagen that is the Combine images mode: every reference you upload goes into each image together, as one set. So a combined batch with two references — your product and the plate — restages that product into that exact scene.
place the product from the first reference image onto the marble counter shown in the second reference image; keep the counter, wall, light direction and shadows of the second image exactly as they are; keep the product exactly as it is: same shape, proportions, colours and finish; do not add props, people or textThe catch is that Combine sends all references into every image. Upload twenty products and the plate together and the model receives twenty-one pictures at once, which is not what you want. So run it as one small batch per product:
- Run the first product: upload the product photo and the plate, choose Combine images, paste the prompt.
- When the result looks right, open the batch and press Remix. It copies the settings, the prompt and the references into a new batch.
- Swap the product photo for the next one, keep the plate, and start. Nothing is charged until you submit.
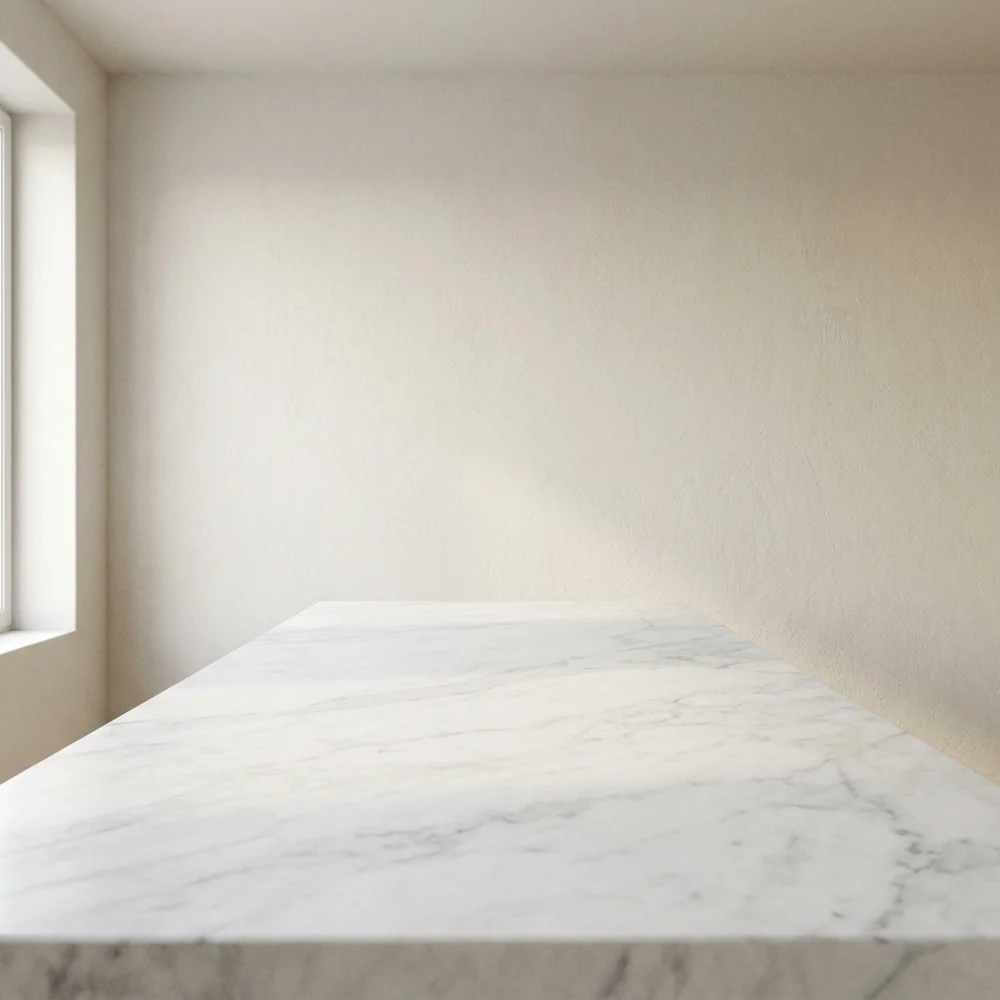
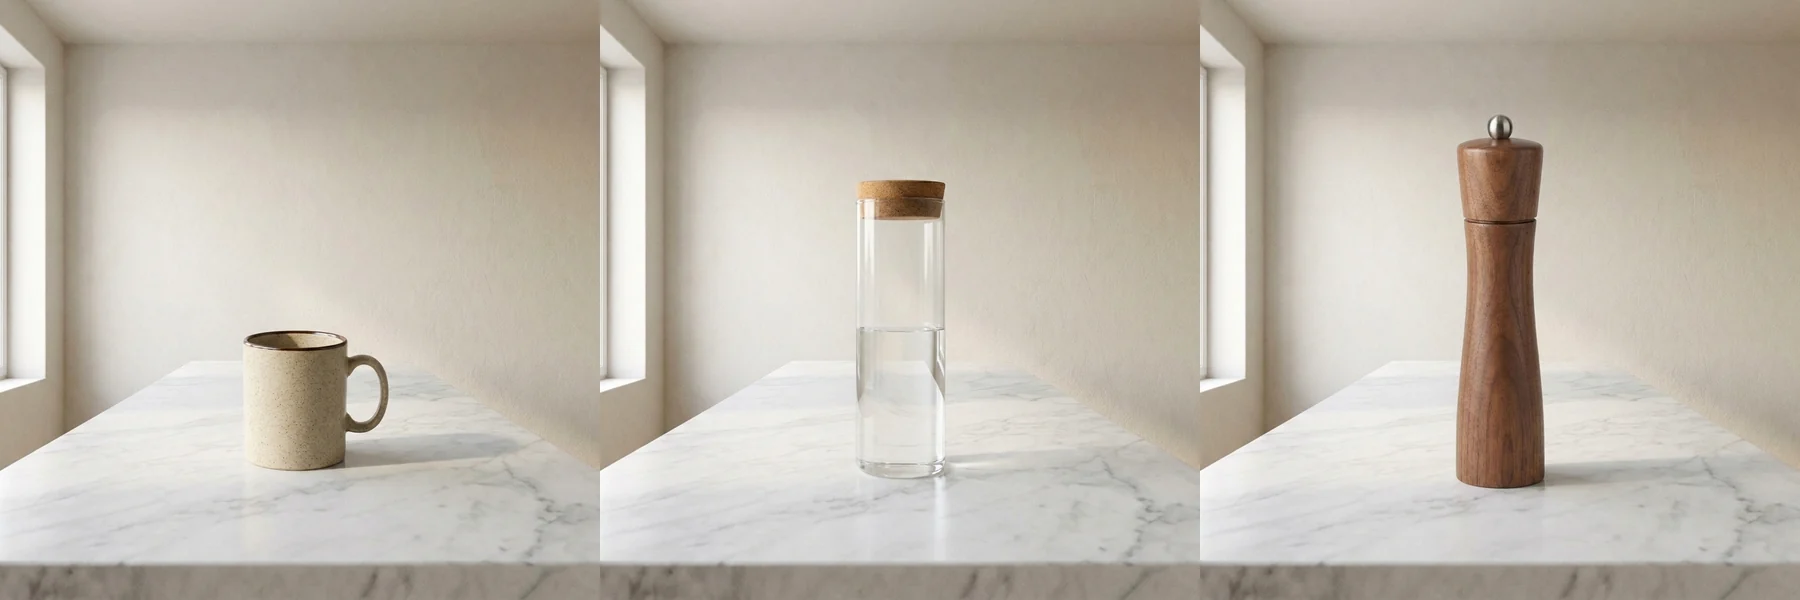
Compare this row with Method 1: the counter edge, the window and the camera angle are now the same in all three images, because all three were copied from the plate rather than reinvented. The one thing that still varies is how large each product sits in the frame — the mug came back noticeably smaller than its real proportion to the others. That is worth checking whenever products of very different sizes share a plate.
Two things improve the result:
- Say which reference is which. "The first reference" and "the second reference" follow upload order. Upload the product first, the plate second, every time.
- Leave room on the plate. Generate the plate with an empty, well-lit spot where the product will stand — "an empty marble counter, the centre of the counter clear". A plate with a vase already in the middle invites the model to move things.
If your catalog is large, this is where the API earns its keep: a short script can loop over your product photos and submit one combined batch per product with the same plate URL, with no clicking.
Method 3: Generate cut-outs, then place them yourself#
If the background must be identical to the pixel — a marketplace that demands pure white, a brand colour on every tile, a template with your logo bar — stop asking the model to render it. Render the product alone and put the background in yourself.
BulkImagen has a Background setting for this on the models that support it:
- Transparent returns the product on a transparent background, ready to drop onto any plate or template in your design tool.
- Solid colour takes a hex value and asks for the product on a flat, even field of that colour — useful when the "template" is simply your brand colour.
Both are marked beta because not every image comes back perfectly transparent or perfectly flat, so check the results before you build on them. The form only shows the option for models and resolutions where it is available; if you don't see it, switch to a model that has it (the models page lists which ones do).
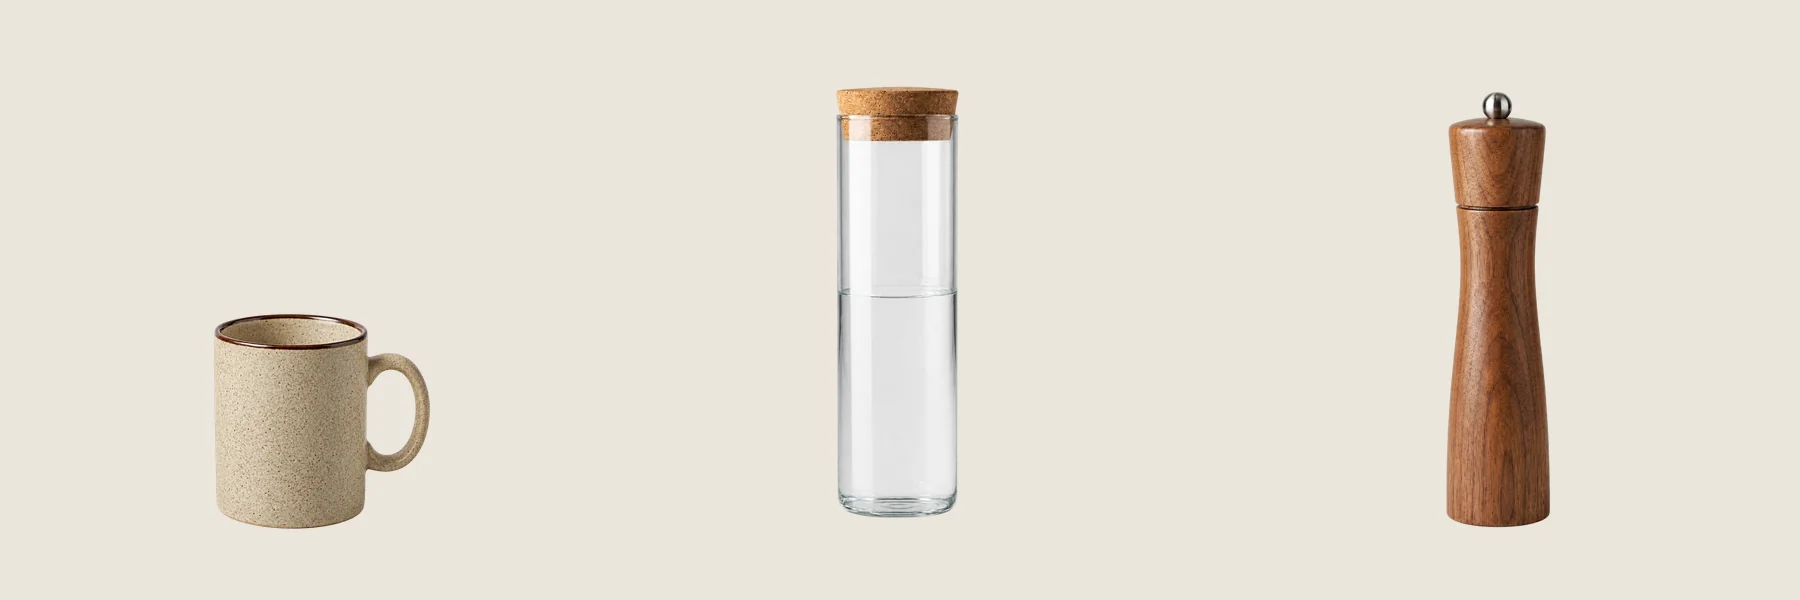
All three of ours came back with a real transparent background, and we placed them on one flat cream colour ourselves — so the background is the same to the pixel, and the relative sizes are whatever we choose rather than whatever the model chose. The glass carafe shows the limit: glass picks up light from the scene it was rendered in, so its body came back slightly whiter than a true see-through cut-out. Transparent and reflective products need a closer look.
The trade-off is realism. A composited cut-out has no reflection in the marble and no shadow the scene actually cast — you add those in your editor or accept a cleaner, flatter look. That is exactly the look most marketplace main images want, and the wrong look for a cosy lifestyle shot.
Settings that quietly break consistency#
Whichever method you choose, these settings change the look of the background even when the words don't:
- Mixing models. Two models given the same scene spec produce two different counters. Keep the whole catalog on one model; if you change models later, re-run the old products too.
- Mixing aspect ratios. A 1:1 and a 4:5 image of the same scene are composed differently, so the background crops and perspective change. One ratio per batch — run a second batch for the second format.
- Images per combo above 1. Extra variations are extra chances to drift. Generate one per product, fix the scene line, regenerate the outliers.
- Rewriting the spec mid-catalog. Fixing a typo in the scene line is fine; "improving" it halfway through gives you two shoots. Keep the spec in a text file and paste it, never retype it.
Checking a batch for drift#
After a batch finishes, review it as a set, not image by image:
- Look at the grid first. Drift is obvious side by side and invisible one at a time. The odd one out is the one to fix.
- Check the horizon. The line where counter meets wall should sit at roughly the same height in every image. If it jumps, add the camera height to the spec.
- Check the shadow. Same direction, similar length. A shadow on the wrong side breaks the illusion of one shoot faster than anything else.
- Re-run only the outliers. Press Remix, keep only the product photos that drifted, tighten the spec and start — a re-run of three images costs three images, not the whole catalog. (Renders that fail outright are a different case: Retry failed re-runs them, and failed images are refunded automatically.)
When the grid looks right, Download ZIP. The CSV manifest in the archive lists which product photo and which prompt produced each file, so twenty images map back to twenty SKUs without guesswork.
Which method should you use?#
- Gallery and lifestyle images: Method 1. One batch, one spec, the whole catalog — similar is exactly right here.
- Collection pages and hero banners: Method 2. Worth one small batch per product for a set that really matches.
- Marketplace main images and ad templates: Method 3. When the rules say "pure white" or the layout is fixed, don't let a model render the background at all.
Many shops end up using two: Method 3 for the main image every marketplace requires, Method 1 for the gallery images behind it. Write the scene spec once, keep it with your brand assets, and the next product you add slots straight into the same set. When you are ready, open the bulk image generator and run the spec on three products first.