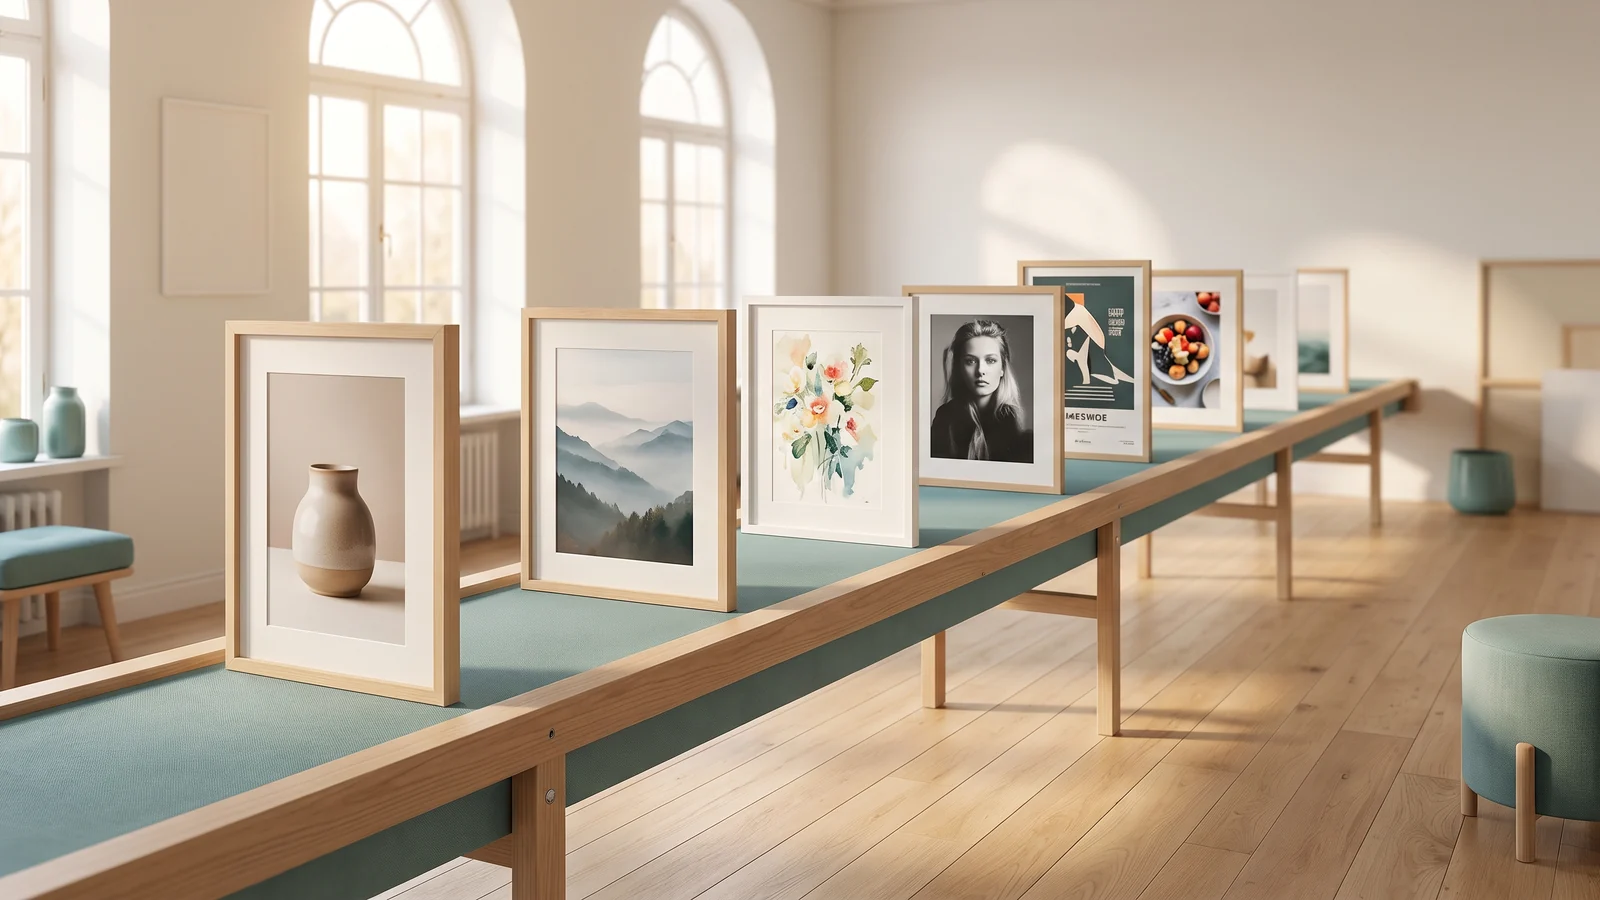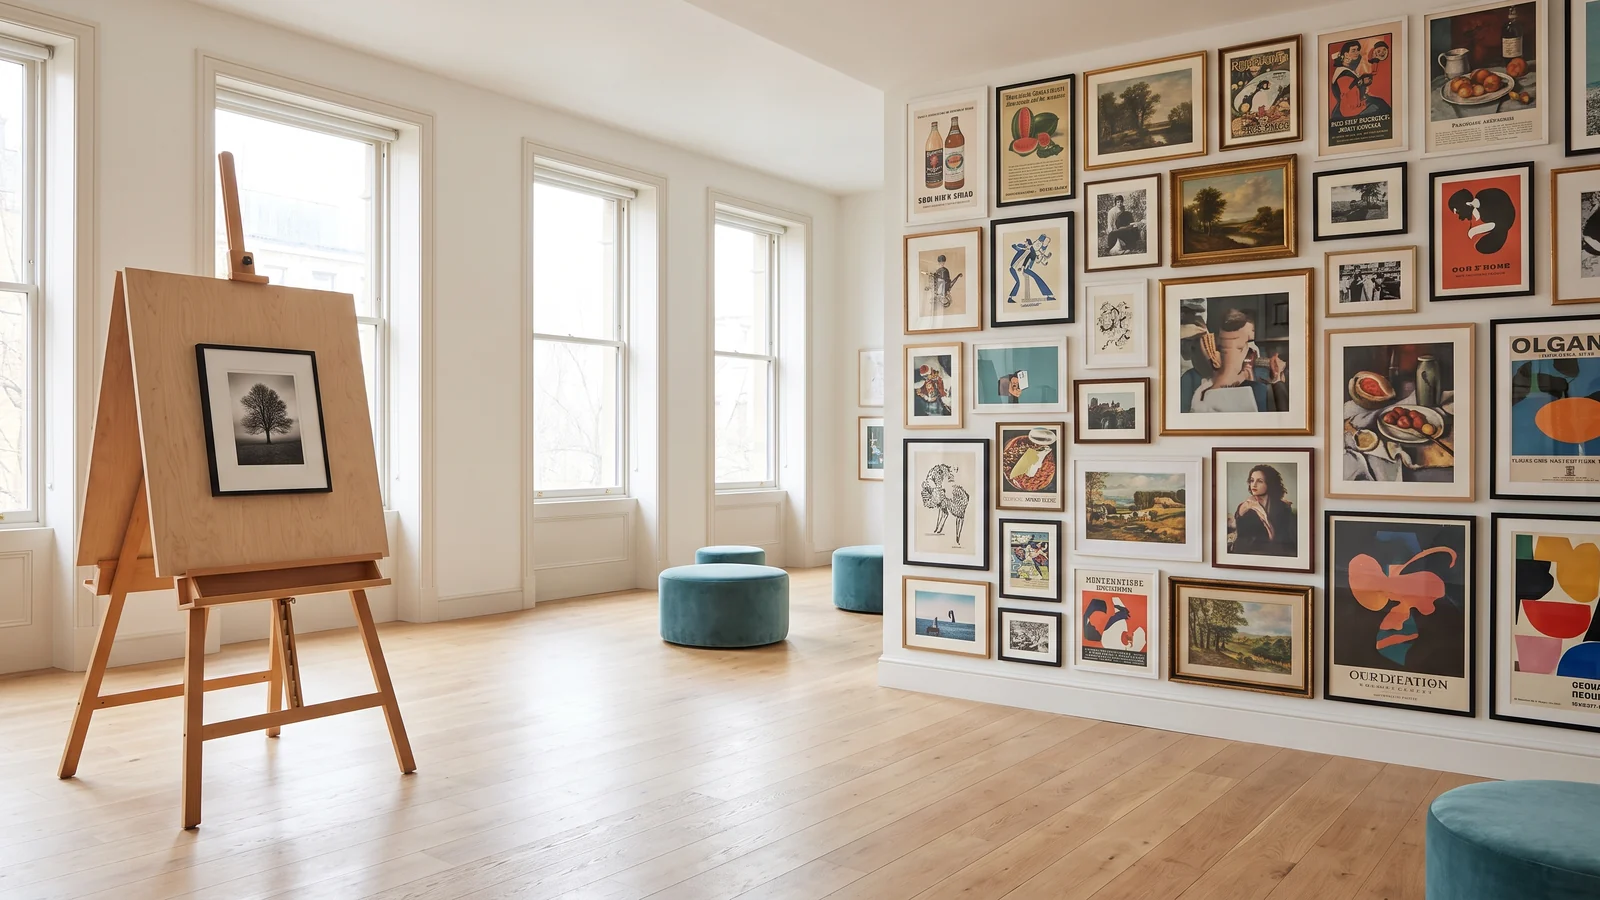
How to Create Bulk Product Photos with AI: A Step-by-Step Guide
Create bulk product photos with AI from the photos you already have: one reference per product, four scenes each, the whole catalog in one batch and one ZIP.
On this page
- What you will end up with
- Step 1: Prepare one clean photo per product
- Step 2: Start a batch and upload the references
- Step 3: Write your scene prompts once
- Step 4: Pick the model, size and background
- Step 5: Check the estimate, then start
- Step 6: Review, retry and refine
- Step 7: Download the whole catalog
- Going further: automate it with the API
- A checklist for your catalog
If you sell more than a handful of products, you already know the problem: every SKU needs a main image, a lifestyle shot, a scale shot and something for social — and a studio day for each one is not happening. This guide shows how to make bulk product photos with BulkImagen from the photos you already have: one reference photo per product in, a complete image set per product out, the whole catalog in one run.
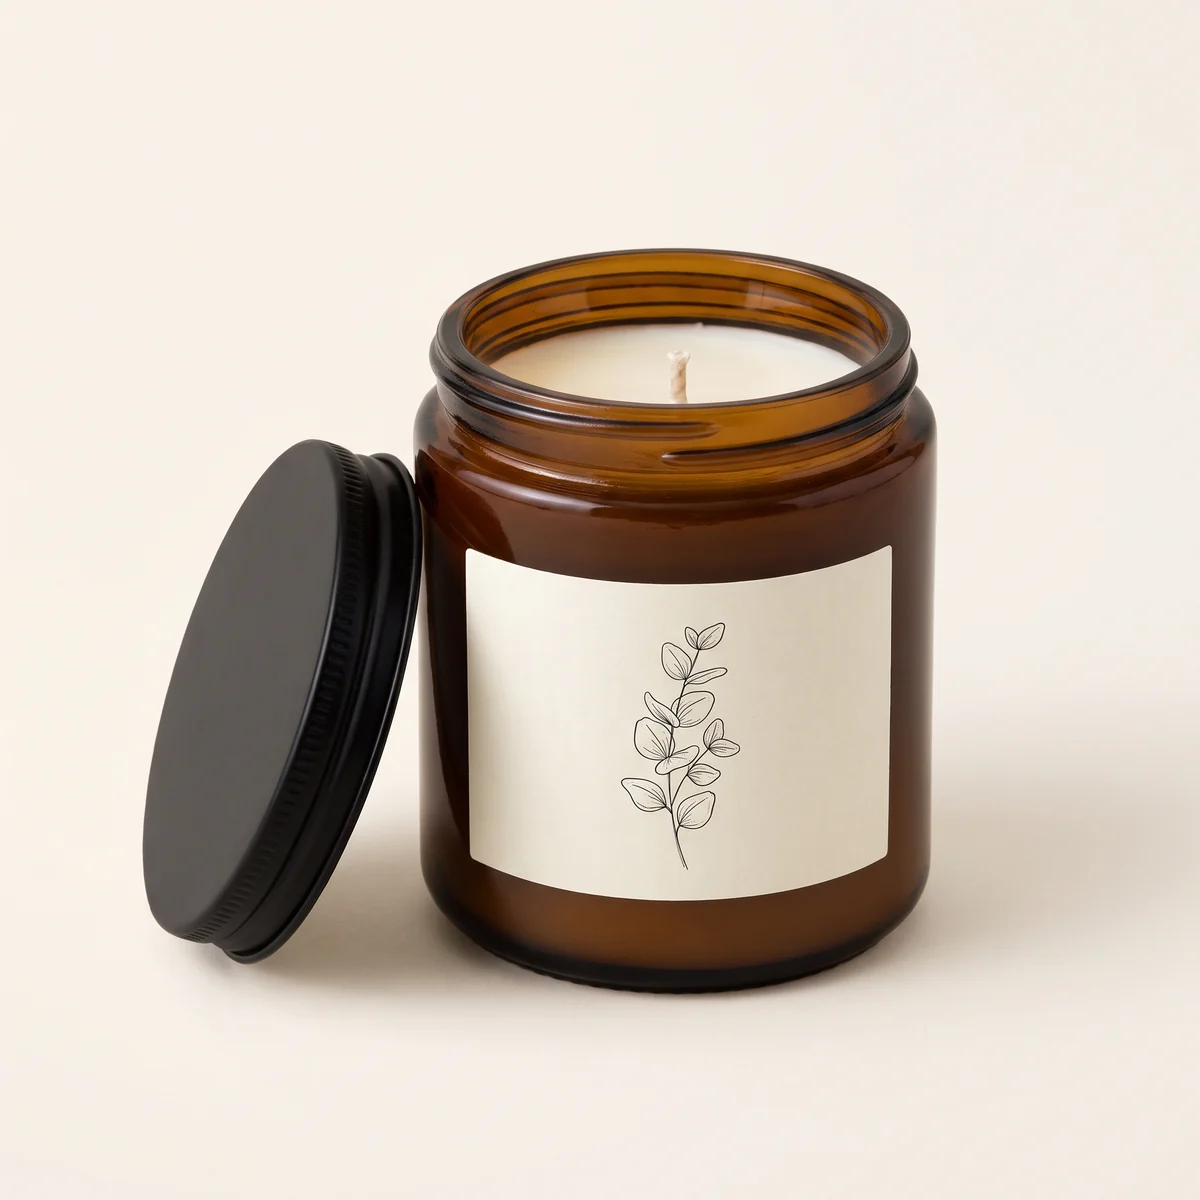
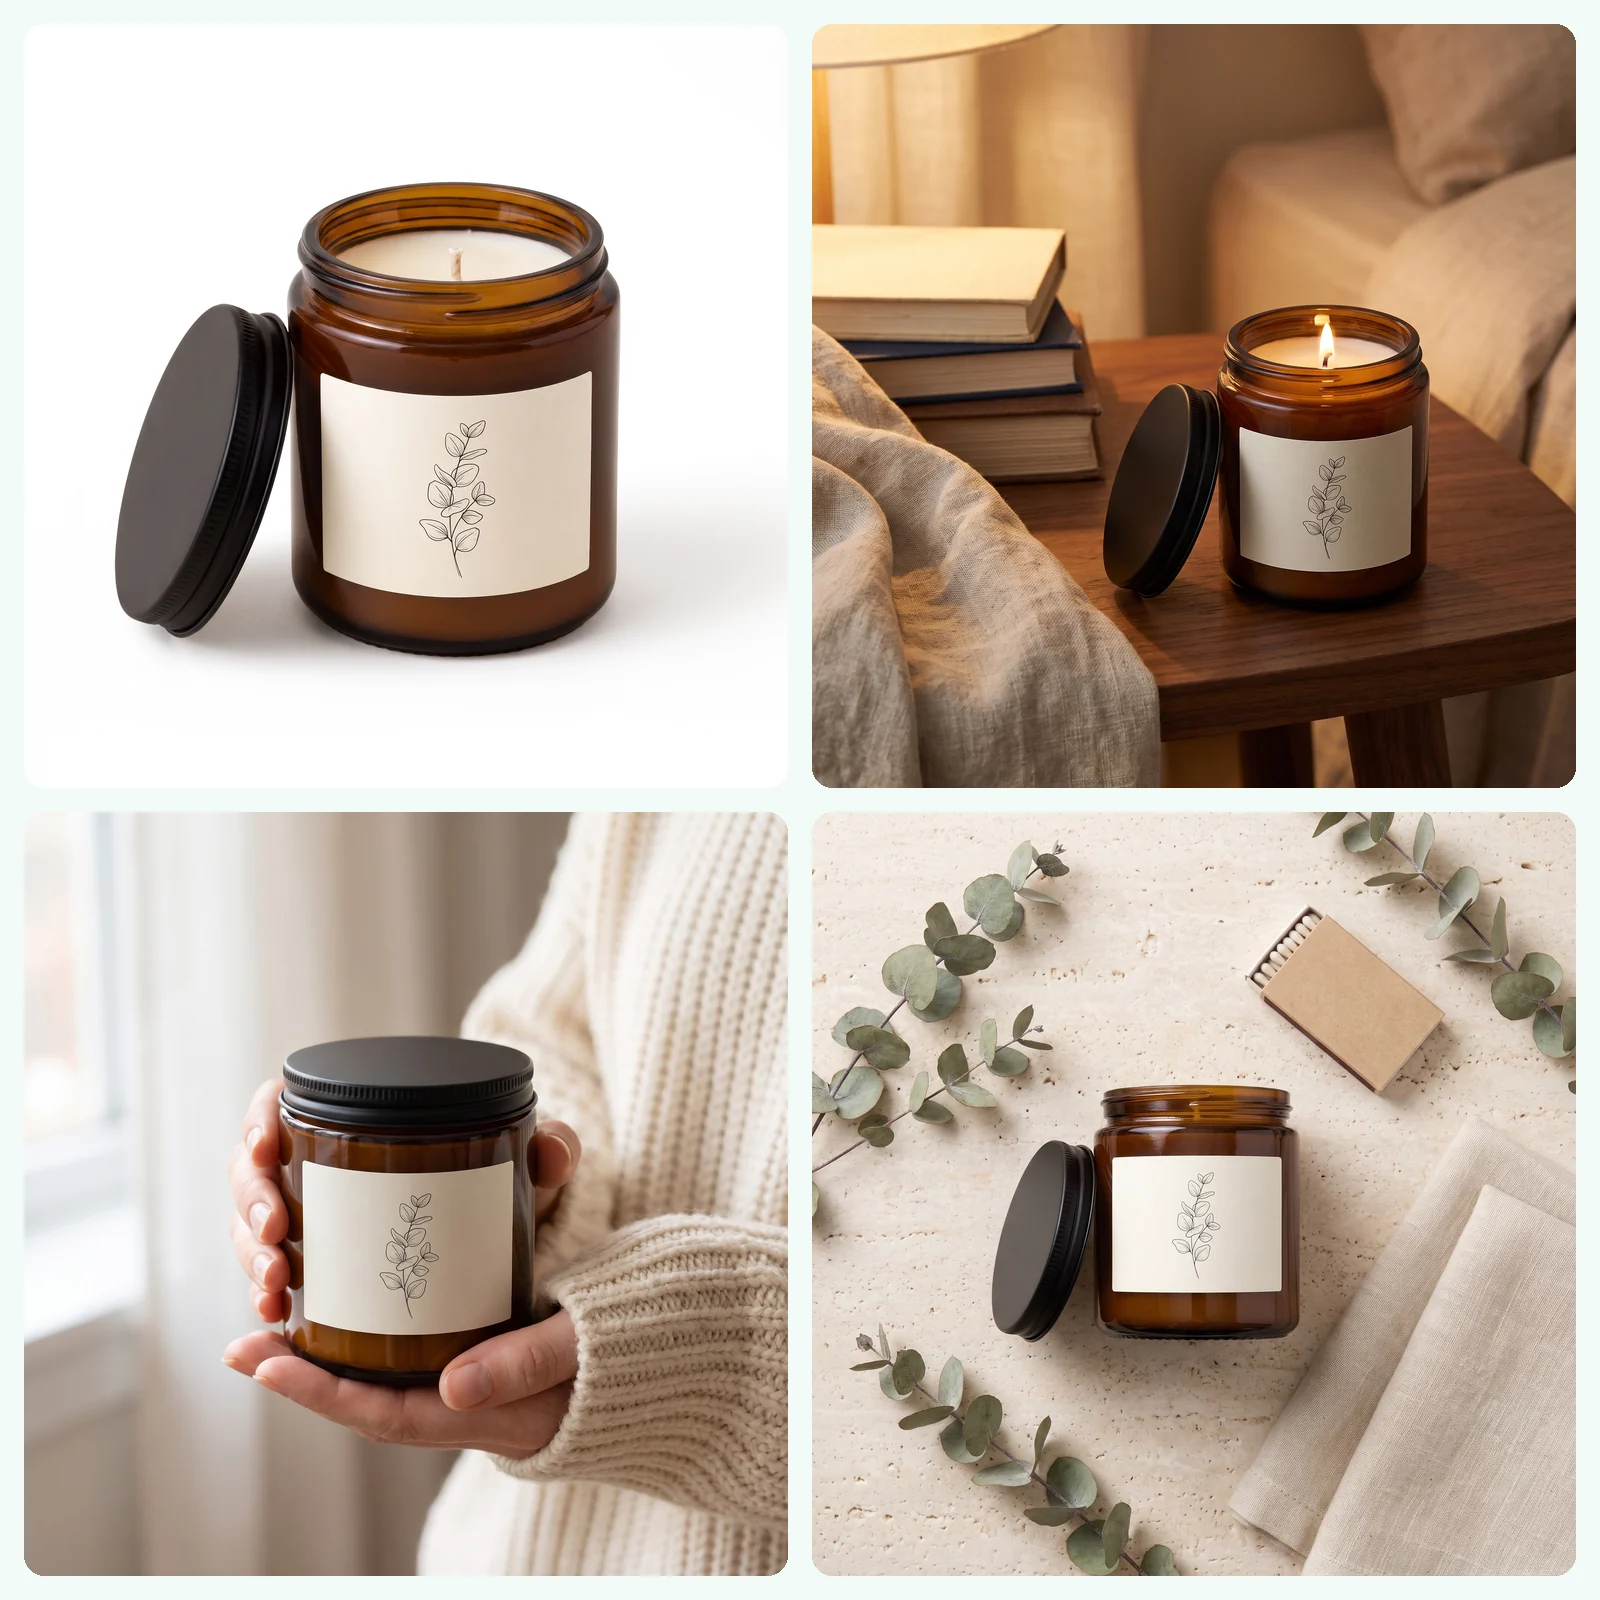
It is a step-by-step walkthrough of the actual screens, plus the prompt patterns that keep your product looking exactly like your product. Every sample image here came out of one batch, restaged from a single reference photo of an unbranded scented candle in an amber glass jar.
What you will end up with#
For every product you upload, BulkImagen restages the real item into each scene you describe:
| Shot | Used for |
|---|---|
| Main image on white | marketplace search results, product page hero |
| Lifestyle | product page gallery, ads |
| In hand / scale | answering "how big is it?" before the customer asks |
| Flat lay | social posts, banners, email headers |
Upload 20 products and write those 4 scenes once, and a single batch produces 80 images — 4 per product, all in the same visual style. That multiplication is the whole point of doing it in bulk.
Step 1: Prepare one clean photo per product#
Your reference photos decide how good the output can be. You do not need a studio, but you do need consistency:
- One product per photo, fully in frame, nothing cropped.
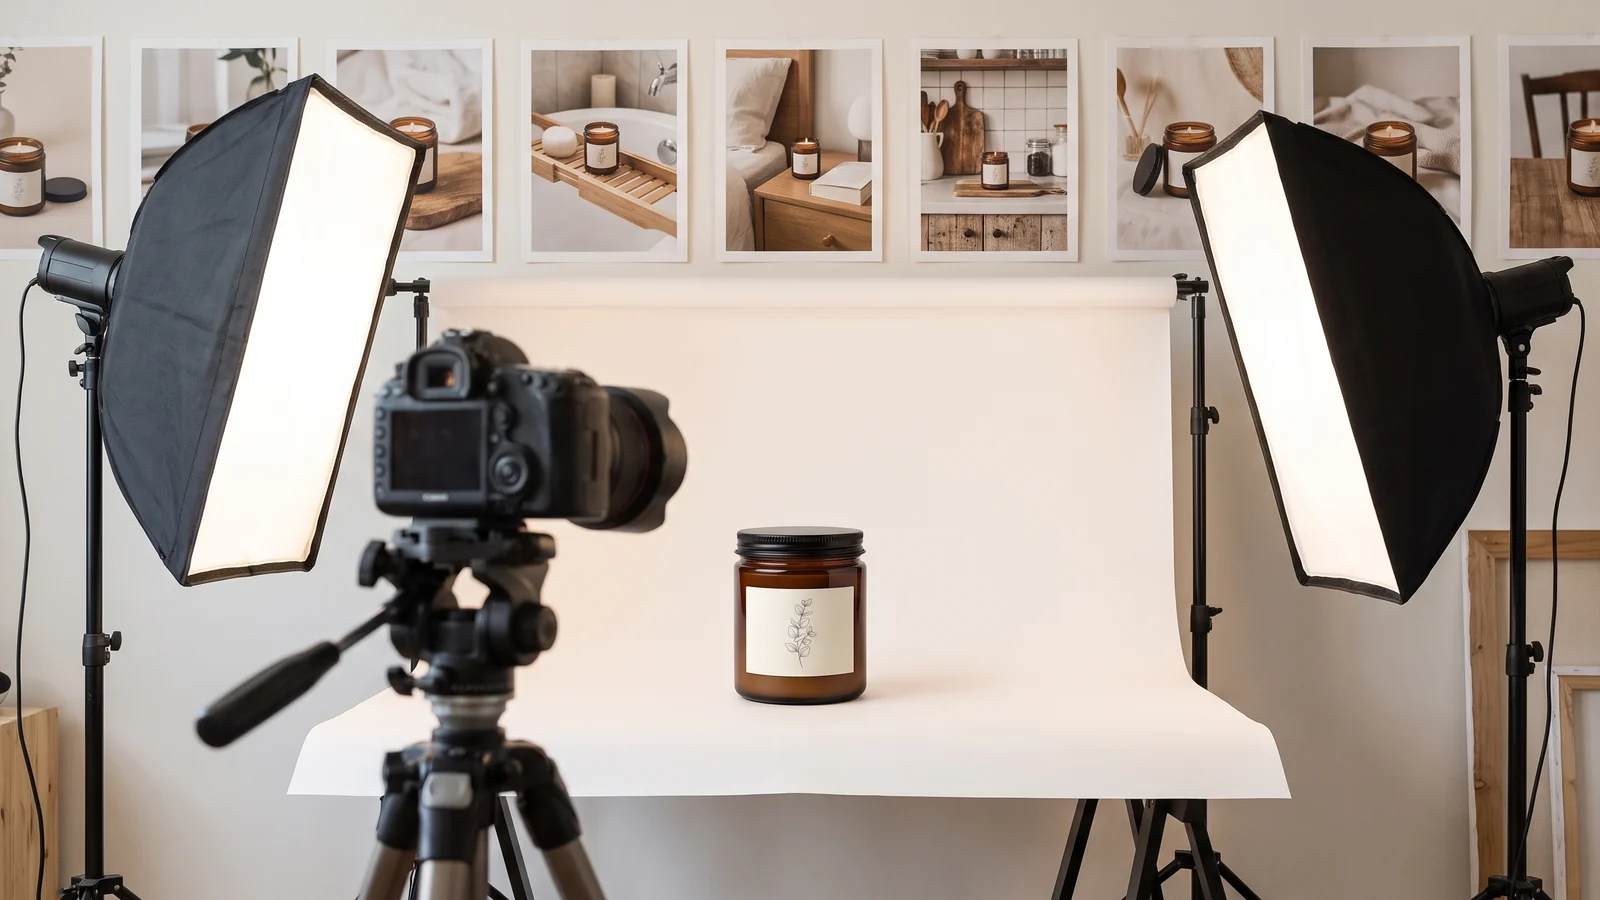
- Plain background and even light — a white wall and a window is enough.
- The same angle for every product (straight-on or three-quarter), so the catalog looks consistent after restaging.
- Label facing the camera. Whatever text is readable in the reference is what the model has to preserve.
Supplier photos and existing listing images work too. BulkImagen accepts PNG, JPEG, WEBP and GIF up to 10 MB each.
Step 2: Start a batch and upload the references#
Sign in, open the dashboard and start a New batch. Drag your product photos into Reference images, or click to upload them.
Then choose How to use the references. This setting is what turns one photo into a full set:
- Per image pairs every reference with every prompt and renders each pair separately. 20 product photos × 4 scene prompts = 80 images. This is the mode for catalogs.
- Combine images sends all references together into each image. Use it when one picture needs several inputs — your product plus your logo, or two items sold as a bundle.
- Text only ignores the references. Keep it for backgrounds and props, never for the product itself.
Note
Not every model accepts reference images — a few are text-only, and the form tells you when you pick one. For product work, choose a model that takes references; our models page lists how many each one accepts.
Step 3: Write your scene prompts once#
Every scene prompt has two parts: what changes (the scene) and what must not change (your product). Write the protection sentence once and add it to every line:
keep the product from the reference image exactly as it is: same jar shape and proportions, same lid, same colors, same label and label artwork; do not redesign it, do not add logos or any text to the product or the labelName the details a customer would notice first — here the lid and the label artwork. If your label carries words, add "same label text; do not add, remove or change any text on it": models happily rewrite labels into plausible nonsense.
Then the four scenes, one per line, each followed by that sentence:
on a seamless pure white background, soft even studio light, centered, product fills most of the frame
lit with a small calm flame, on a walnut side table beside a short stack of books and a linen throw, warm evening lamp light
held in a woman's hands, sleeves of a cream knit sweater, soft natural window light, close framing
flat lay on a pale travertine surface with dried eucalyptus stems, a small plain matchbox and a folded linen napkin, top-down
Two input modes are available:
- Prompt × N — type or paste one prompt per line. Right for a handful of scenes.
- Spreadsheet — upload a .csv, .xls or .xlsx and BulkImagen reads the
promptcolumn (or the first column if there is no header). Right when your scenes live in a sheet or are generated per product. There is a Download template link if you want the exact format.
Tip
Add clauses to the protection sentence for the failures you actually see. If a restaged scene tints your product, add "do not change the product's color or brightness". If the model invents a state the product isn't in (a lid open, a device switched on), add "do not show the product in use unless described".
Step 4: Pick the model, size and background#
- Model. Start with the default and run a small test before committing the whole catalog. If you want a second opinion, run the same three products on a second reference-capable model and compare side by side.
- Aspect ratio. 1:1 for most marketplaces and product feeds, 4:5 for Instagram and Facebook feeds, 9:16 for Stories and Reels. Pick one per batch — run a second batch for a second format.
- Resolution. Higher resolutions cost more credits per image; use them for hero images and keep lighter sizes for social variants.
- Background. On models that support it, the Transparent background option gives you cut-outs you can drop into your own templates. It is marked beta because not every image comes back perfectly transparent, so check the results.
- Images per combo. Leave it at 1. Asking for 3 variations of every product × scene triples the cost; it is cheaper to fix the one scene line that came out wrong.
Step 5: Check the estimate, then start#
Before you submit, the form shows exactly what the batch will produce: Will generate 80 images · N credits. That number is products × scenes × images per combo × the model's price per image, and it is what you will be charged — nothing is estimated after the fact.
Each plan has a per-batch image limit. If your catalog is larger, split it into several batches — higher plans run several batches at the same time, so a big catalog still finishes in one sitting. See pricing for the limits and per-image rates.
Press Start batch. The images render in parallel rather than one after another, so you are not waiting 80 times over — you can close the tab and come back to a finished batch.
Step 6: Review, retry and refine#
When the batch finishes, review every image against its reference:
- Label text — misspellings, invented words, missing lines. This is the most common defect.
- Shape and proportions — a taller jar, a different lid, a label that moved or changed its artwork.
- Colour — the main image must match the real product.
- Hands and props — extra fingers, objects fused into the product.
Three tools on the batch page help here:
- Retry failed re-runs anything that failed. Failed images are refunded automatically, so you never pay for an image you didn't get.
- Remix copies the batch's settings and prompts into a new batch, so you can fix one scene line and re-run without rebuilding the form. Nothing is charged until you submit.
- Select & edit → Remix selected uses the images you pick as new references — useful when one output is perfect and you want more in exactly that style.
Step 7: Download the whole catalog#
Download ZIP gives you every image in one archive. Before downloading you can:
- convert to WebP for much smaller files on your store,
- set a width or drag a custom crop box to match a marketplace's size,
- download only a selection instead of the whole batch.
The archive includes a CSV manifest listing, for every file, the prompt and the reference photo that produced it — which is how you match 80 images back to 20 SKUs without opening each one.
Going further: automate it with the API#
If your catalog changes every week, you can skip the form entirely. The BulkImagen API takes the same inputs — reference image URLs, prompts, model, aspect ratio — and returns the same batch, so a script can generate scenes for every new product as soon as it lands in your store. There is also an agent skill that lets Claude Code, Cursor or Codex run batches for you from a plain-language request.
A checklist for your catalog#
- One clean, consistent reference photo per product, label facing the camera.
- Per image mode, so every product gets every scene.
- One protection sentence added to every scene line.
- A small test on three products before the full run.
- The estimate checked before you press Start batch.
- Every image reviewed against its reference, label first.
- One ZIP with a CSV manifest to map files back to SKUs.
That is the entire workflow: the scene list you write for the first batch works for every product you add after it. When you are ready, open the bulk image generator and run your first three products.