Supplier photos arrive with someone else's logo on the mug, the bag or the box, and there are two hundred of them. This tool to replace logo in photos works through the whole folder: say which logo goes and what, if anything, takes its place, and every photo is redrawn without it. Upload, describe, download the ZIP.
—
Per Drag & Drop oder Klick hochladen — PNG / JPEG / WEBP / GIF, jeweils bis zu 10 MB.
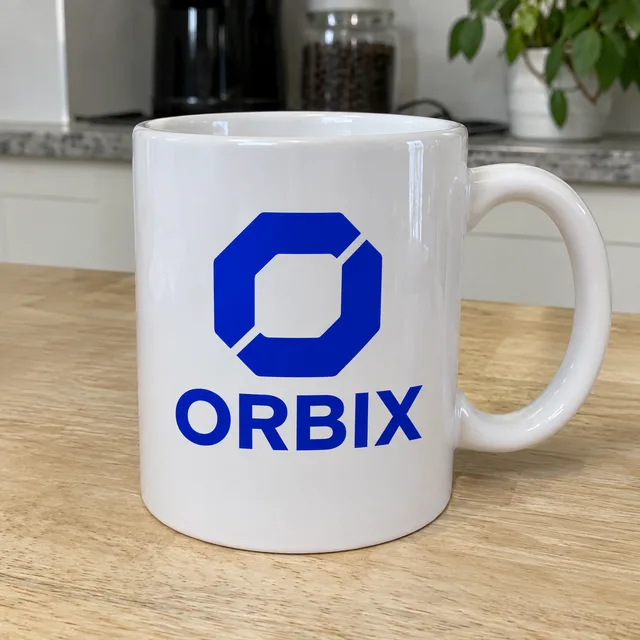
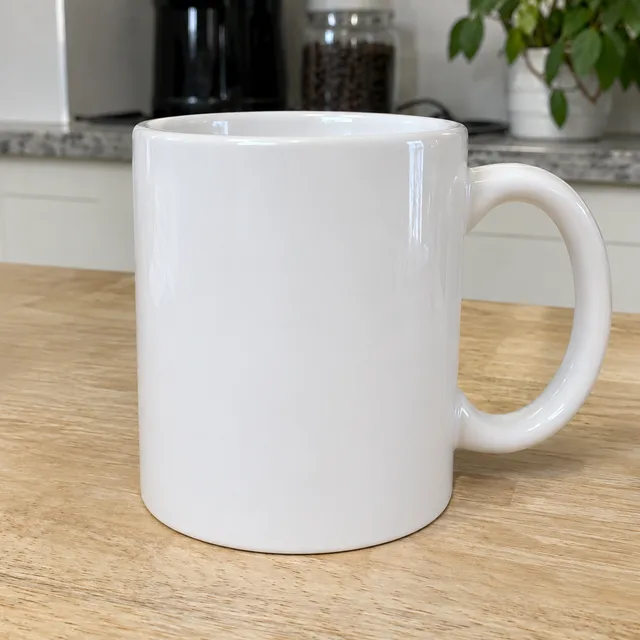
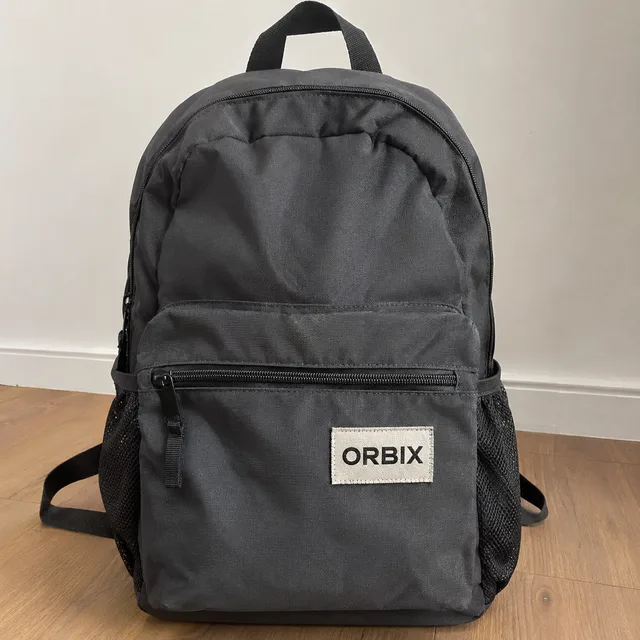
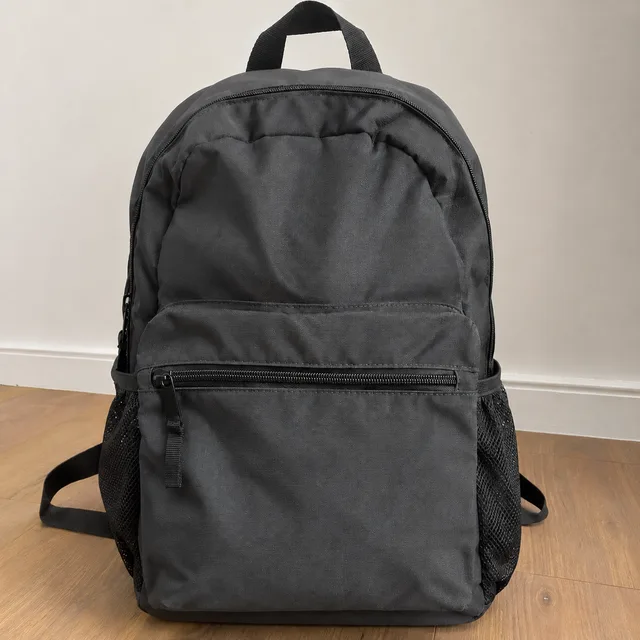
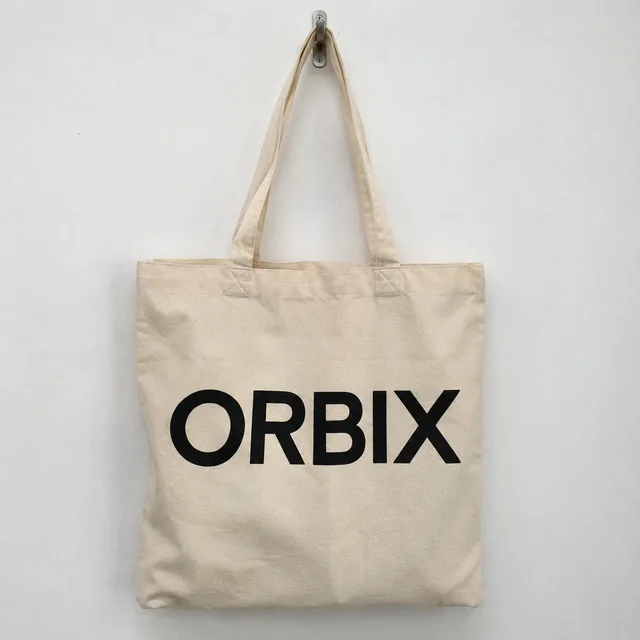
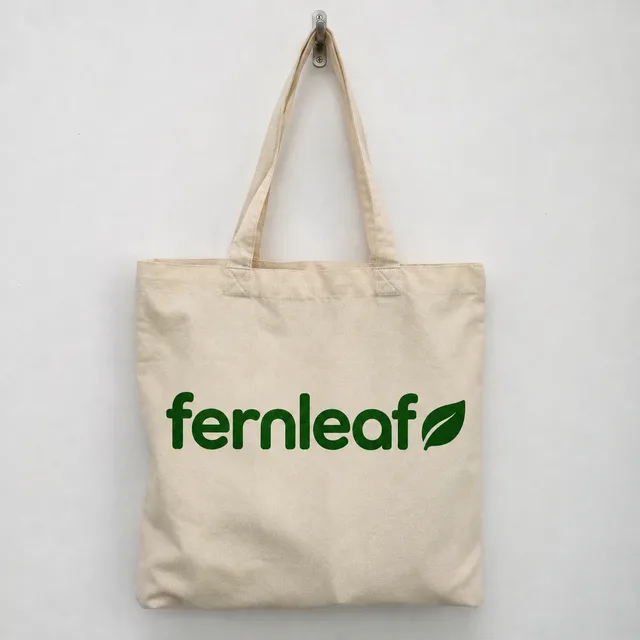
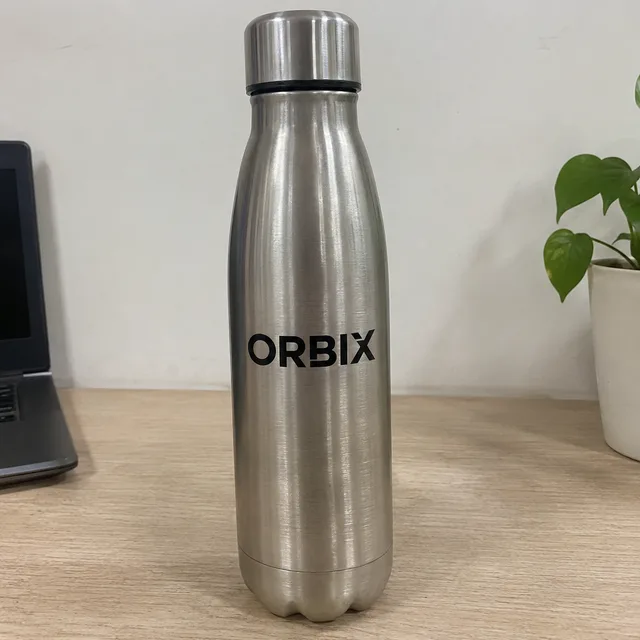
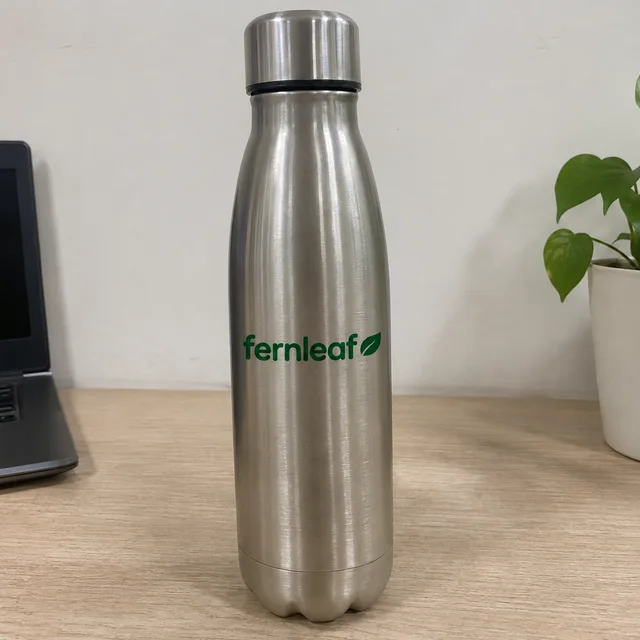
A logo sits on very different things, and each row is one of them: printed ceramic and woven patches, a swapped wordmark, boxes and labels, embroidery, and signage behind the product. In every row the untouched photo comes first, then the edit, then a second product and its edit. The logo shown is an invented one.
take the printed logo off the mug and the woven patch off the backpack; rebuild the surface underneath
replace the ORBIX print with a lowercase green fernleaf wordmark in the same place, size and angle
remove the printing from the box and the label from the bottle, leaving plain material
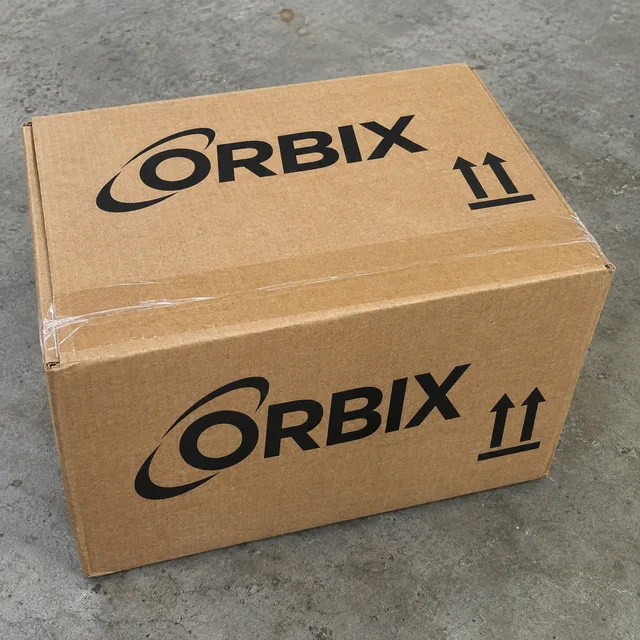
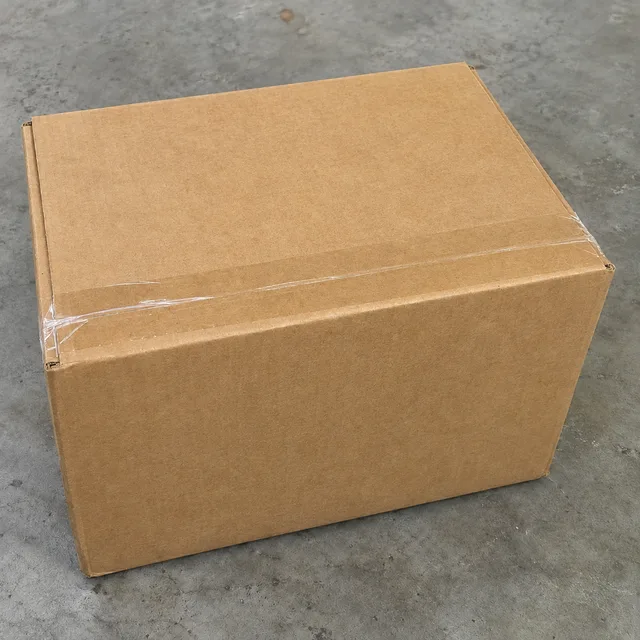
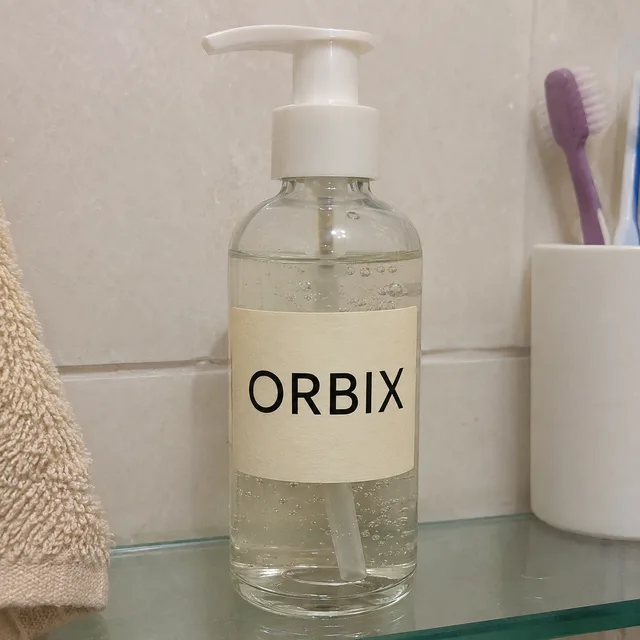
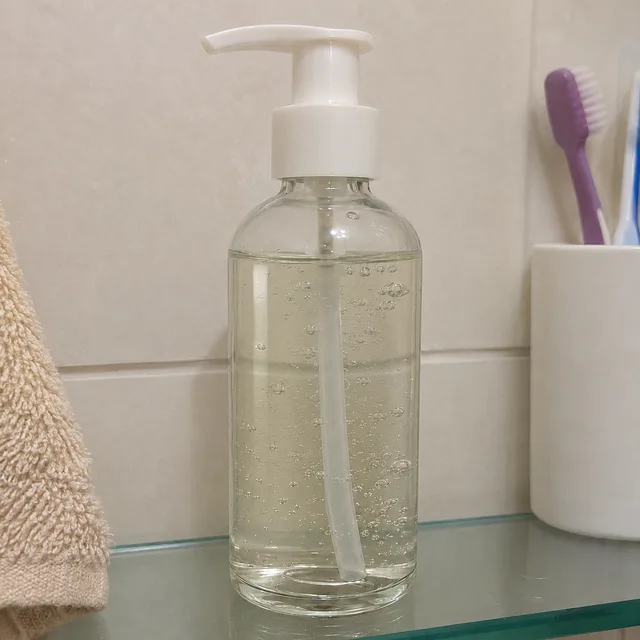
remove the embroidered emblem and the cap lettering, rebuild the fabric weave
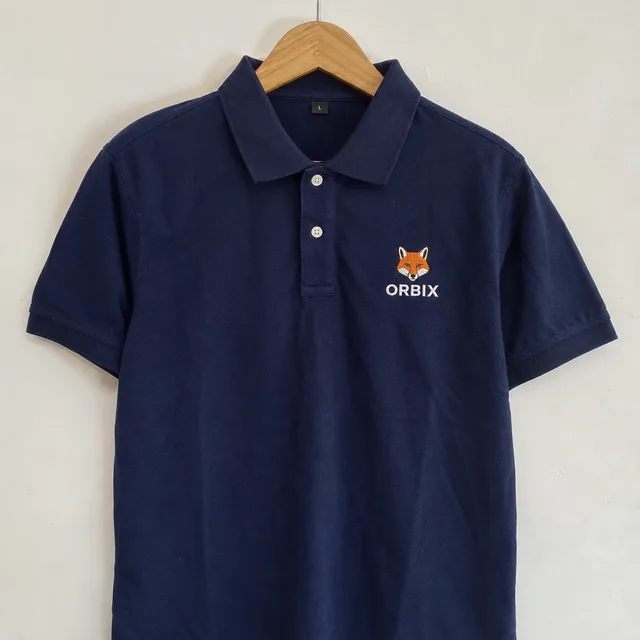
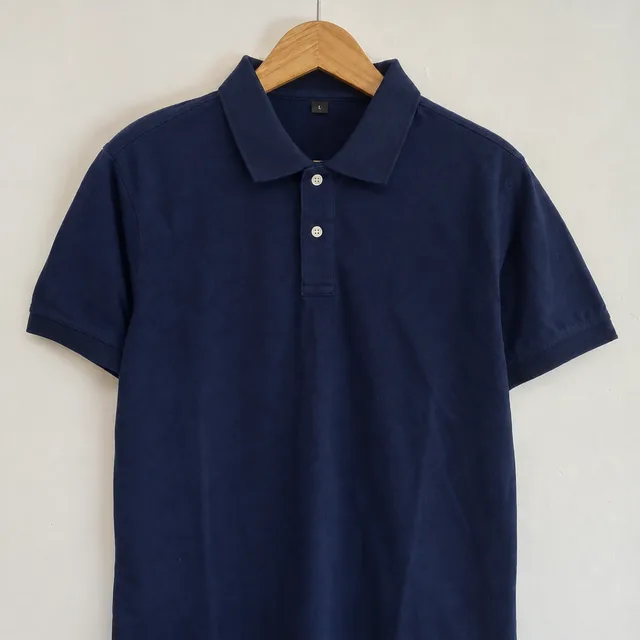
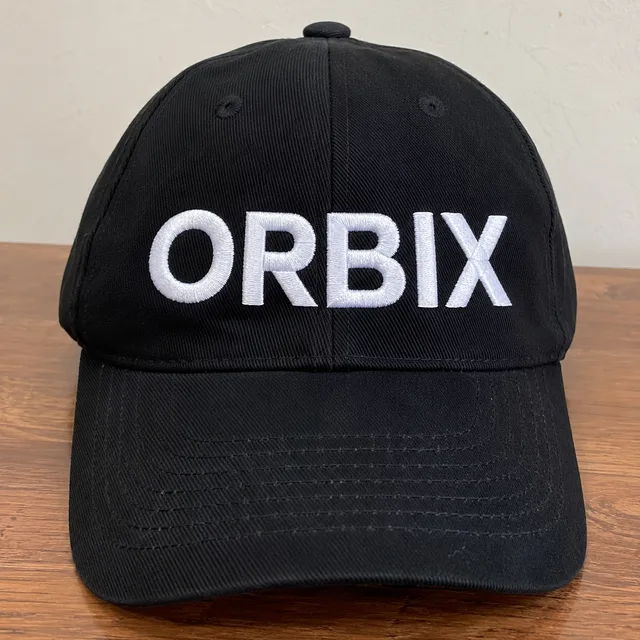
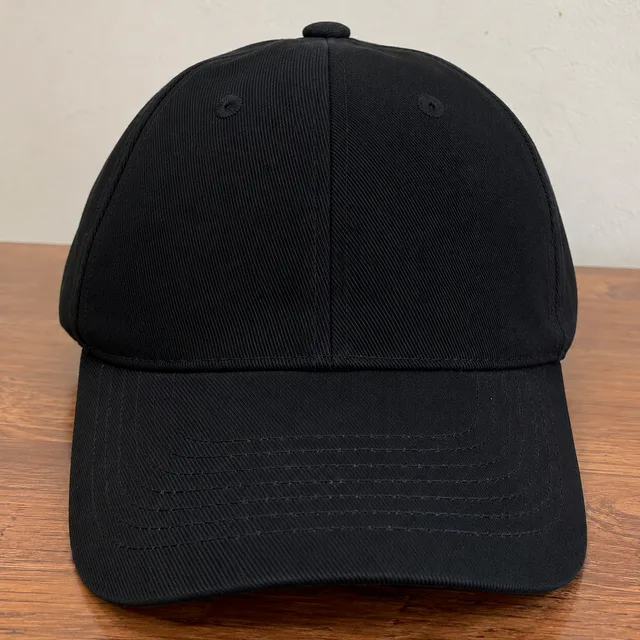
remove the logo from the van door and the sign from the wall behind the counter
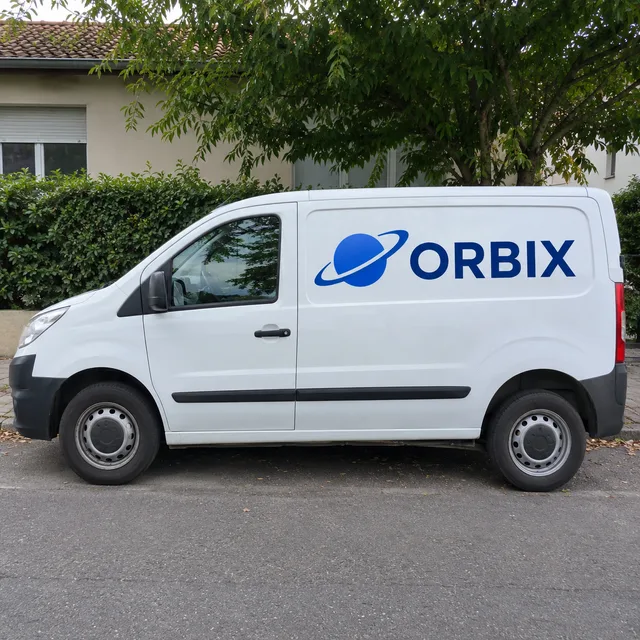
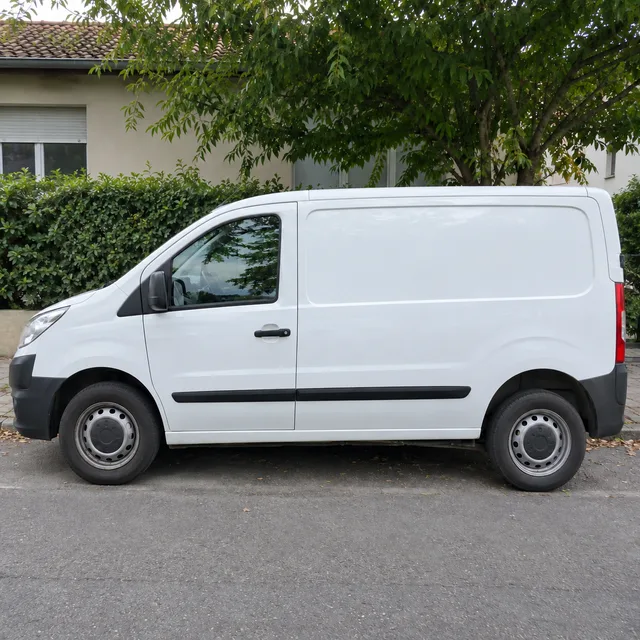

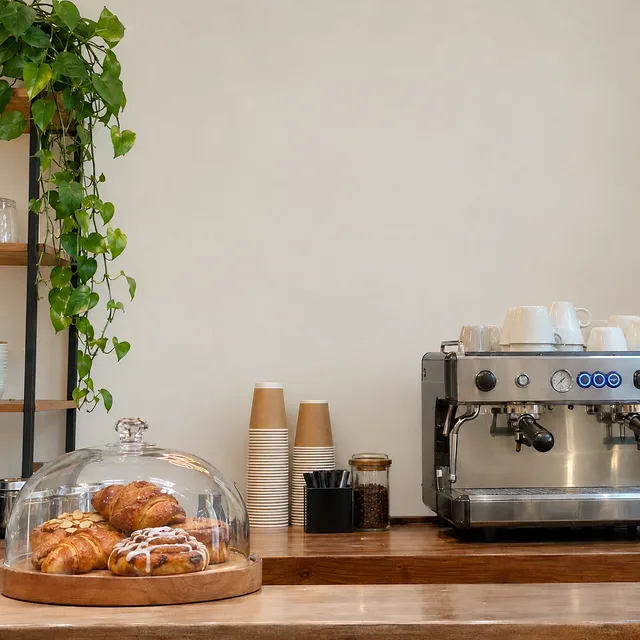
One instruction · every logo gone or swapped · one ZIP
Cropping cannot remove a logo from the middle of a mug, and cloning it out one photo at a time is the afternoon you are trying to avoid. Describing the logo job once and running it across the folder is the faster way.
Three jobs, one form. Name the logo and where it sits and the model takes it off. Add a replacement and it goes in the same place at the same size. Leave the replacement empty and the surface is left plain, which is what you want when a supplier's label has to disappear.
Where the logo was, the model redraws the material: fabric weave, ceramic glaze, kraft card, painted metal. Naming the surface in the instruction helps, because a patch on nylon and a print on a mug need different repairs and neither should leave a ghost of the old mark.
A replacement logo is described in words, so simple wordmarks and shapes work best. This page cannot take your logo file and place it on every photo, and an exact brand mark may come out slightly different. If the artwork must be perfect, remove the old logo here and add your own file in a design tool.
Three steps. Photos go in, edited photos come out, and every logo is handled by the same instruction.
Add the product photos. With more than one upload the form offers Combine images, which merges them into a single result, and Per image, which edits each photo separately. A folder of products needs Per image.
Write what the logo is and where it sits, for example the black logo printed across the front of the bag. If something should take its place, describe it in a few words; if not, leave that box empty. Pick the surface material when you know it.
Check the spot where each logo was, and check anything else with lettering on the product. Rerun the few that left a trace with a sharper instruction, then download the ZIP.
Whenever a logo on a photograph is not the one you want to publish, the same few situations come up.
The supplier's photos show the supplier's logo. A reseller wanting clean product shots for a shop can take that logo off a whole range at once instead of retouching each picture.
A product moves to a new name and the catalogue still shows the old logo on every item. Remove the old logo across the folder, then place the new artwork on the pictures that matter.
Embroidery on polos, lettering on caps, print on boxes and labels on bottles all behave differently. Run each kind of logo as its own batch with the surface named, and the results stay consistent within a batch.
Something not covered? Email us at support@bulkimagen.com
Mit diesem KI-Produktfoto-Generator gestalten Sie einen ganzen Katalog im Bulk neu: Produktfotos hochladen, Szenen für jedes SKU, ein ZIP laden.



Mit diesem KI-Logo-Generator erstellen Sie aus einem Lückentext-Prompt dutzende Markenkonzepte. Stil wählen, Marke eingeben, ein Raster an Logos erhalten.
A bulk AI photo editor for the photos you already have: upload a folder, write one instruction, and every photo is edited on its own, then delivered in one ZIP.
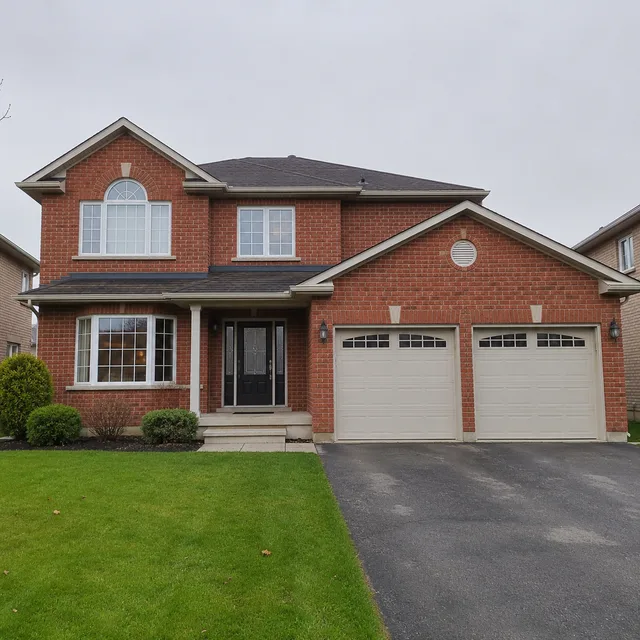
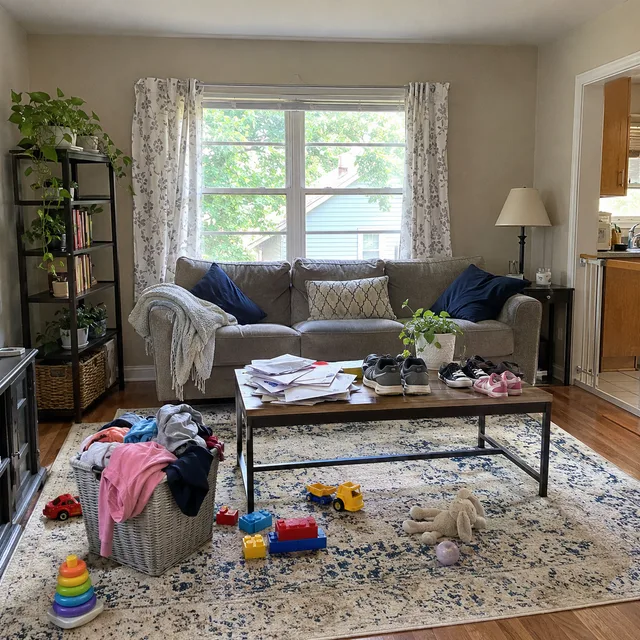
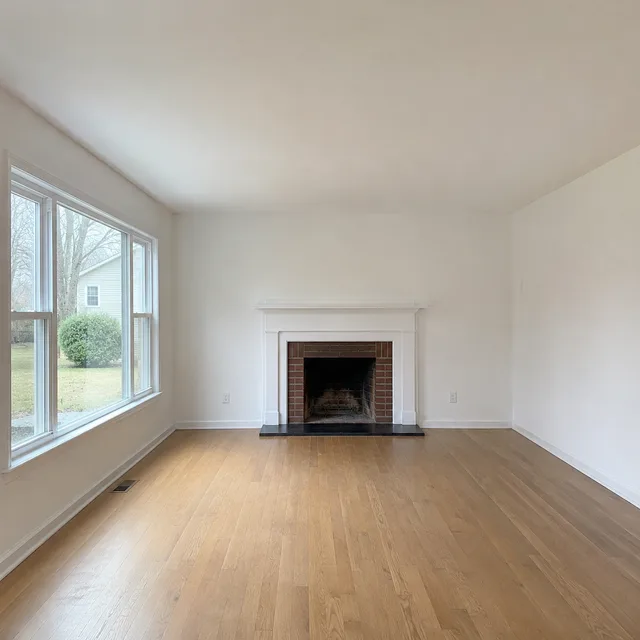
A real estate photo editor for whole listings: sky, declutter, staging, twilight and lawn edits on every photo in one batch, plus MLS disclosure rules.
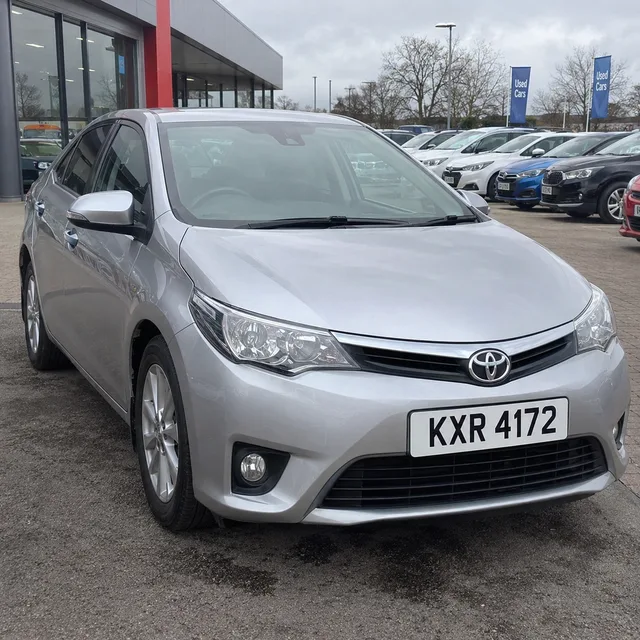
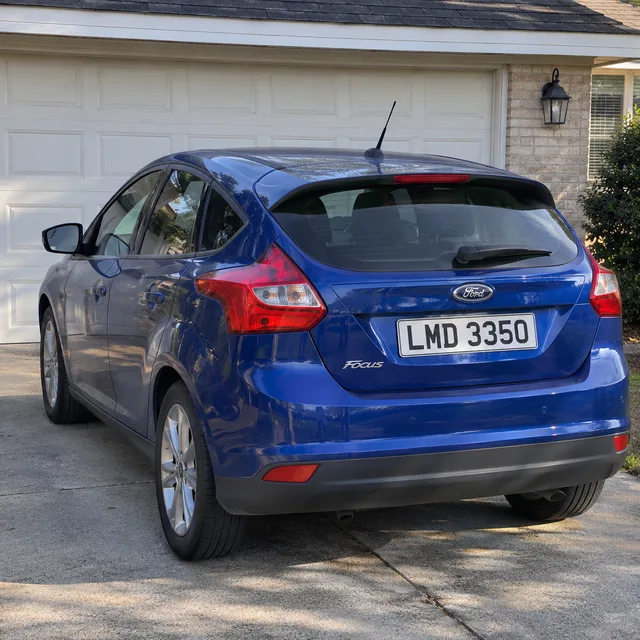
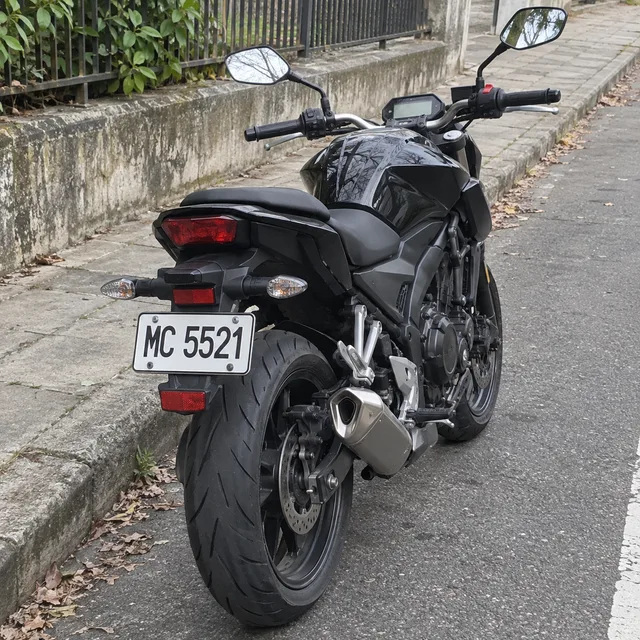
Blur license plates across a whole folder of car photos: one instruction, every photo edited on its own and returned in one ZIP, plus how to check each plate.
Upload the photos, choose Per image, describe the logo and what replaces it, and let the batch work through the folder. Check every result and keep your originals.