How to Make a Coloring Book with AI: Every Page in One Batch
Make a coloring book with AI in one batch: a page list, one style block on every line, a reference page to lock the look, and every page downloaded print-ready.
En esta página
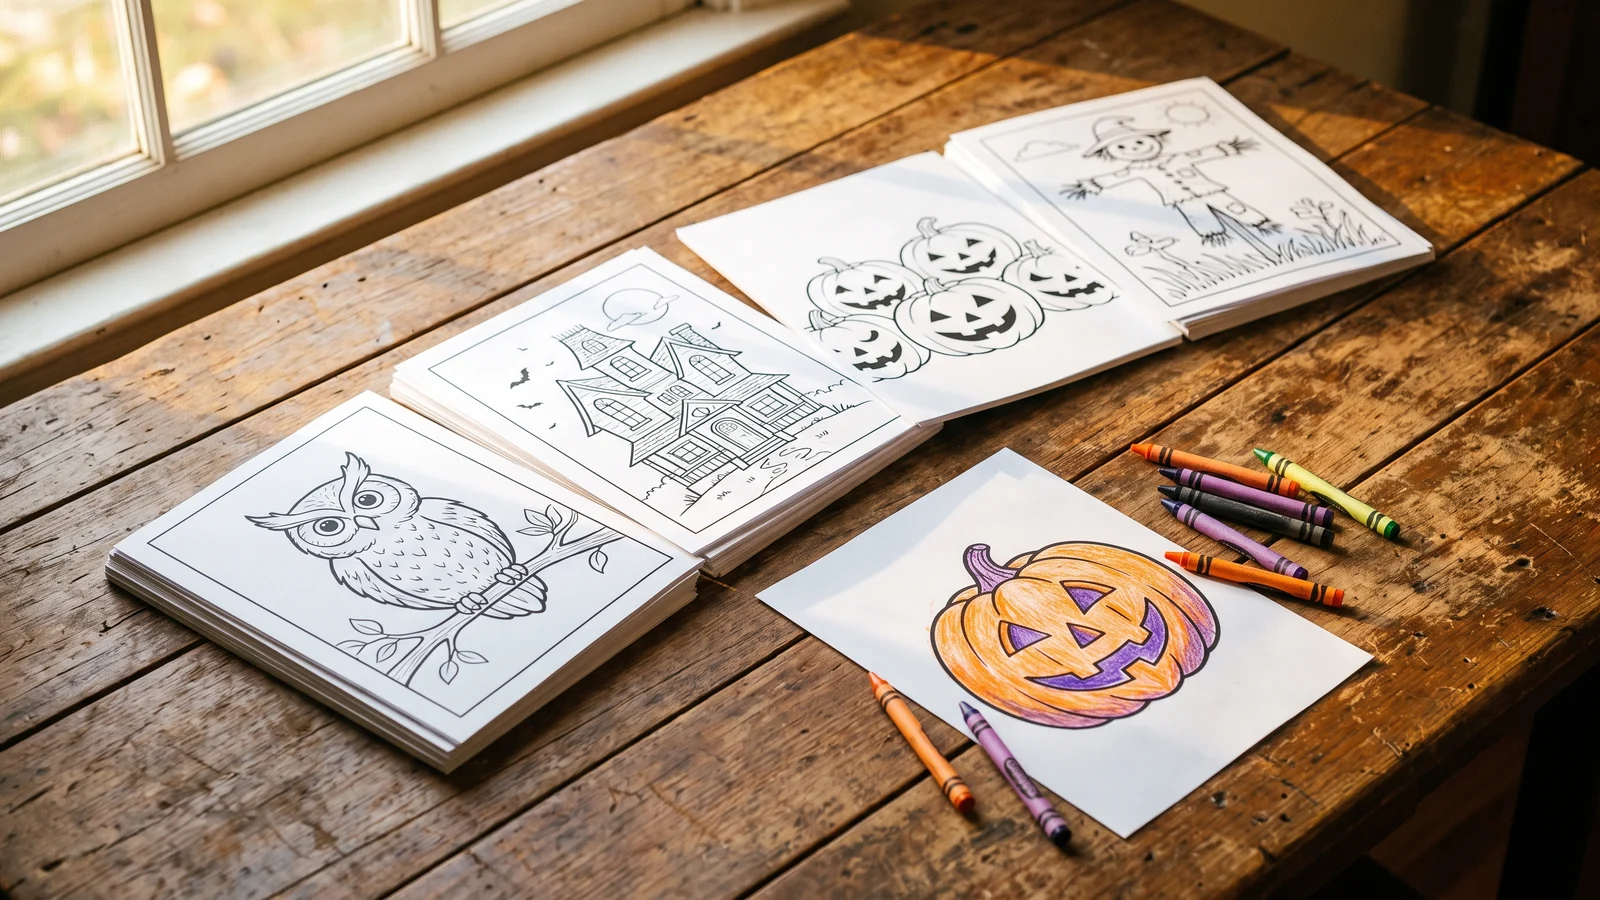
One AI coloring page is easy. A coloring book is not. Twenty or forty pages have to look like they came from the same illustrator: the same line weight, the same amount of detail, the same white space for little hands. Make them one at a time in a chat app and page 12 never quite matches page 3, and you spend the afternoon re-rolling and saving files one by one.
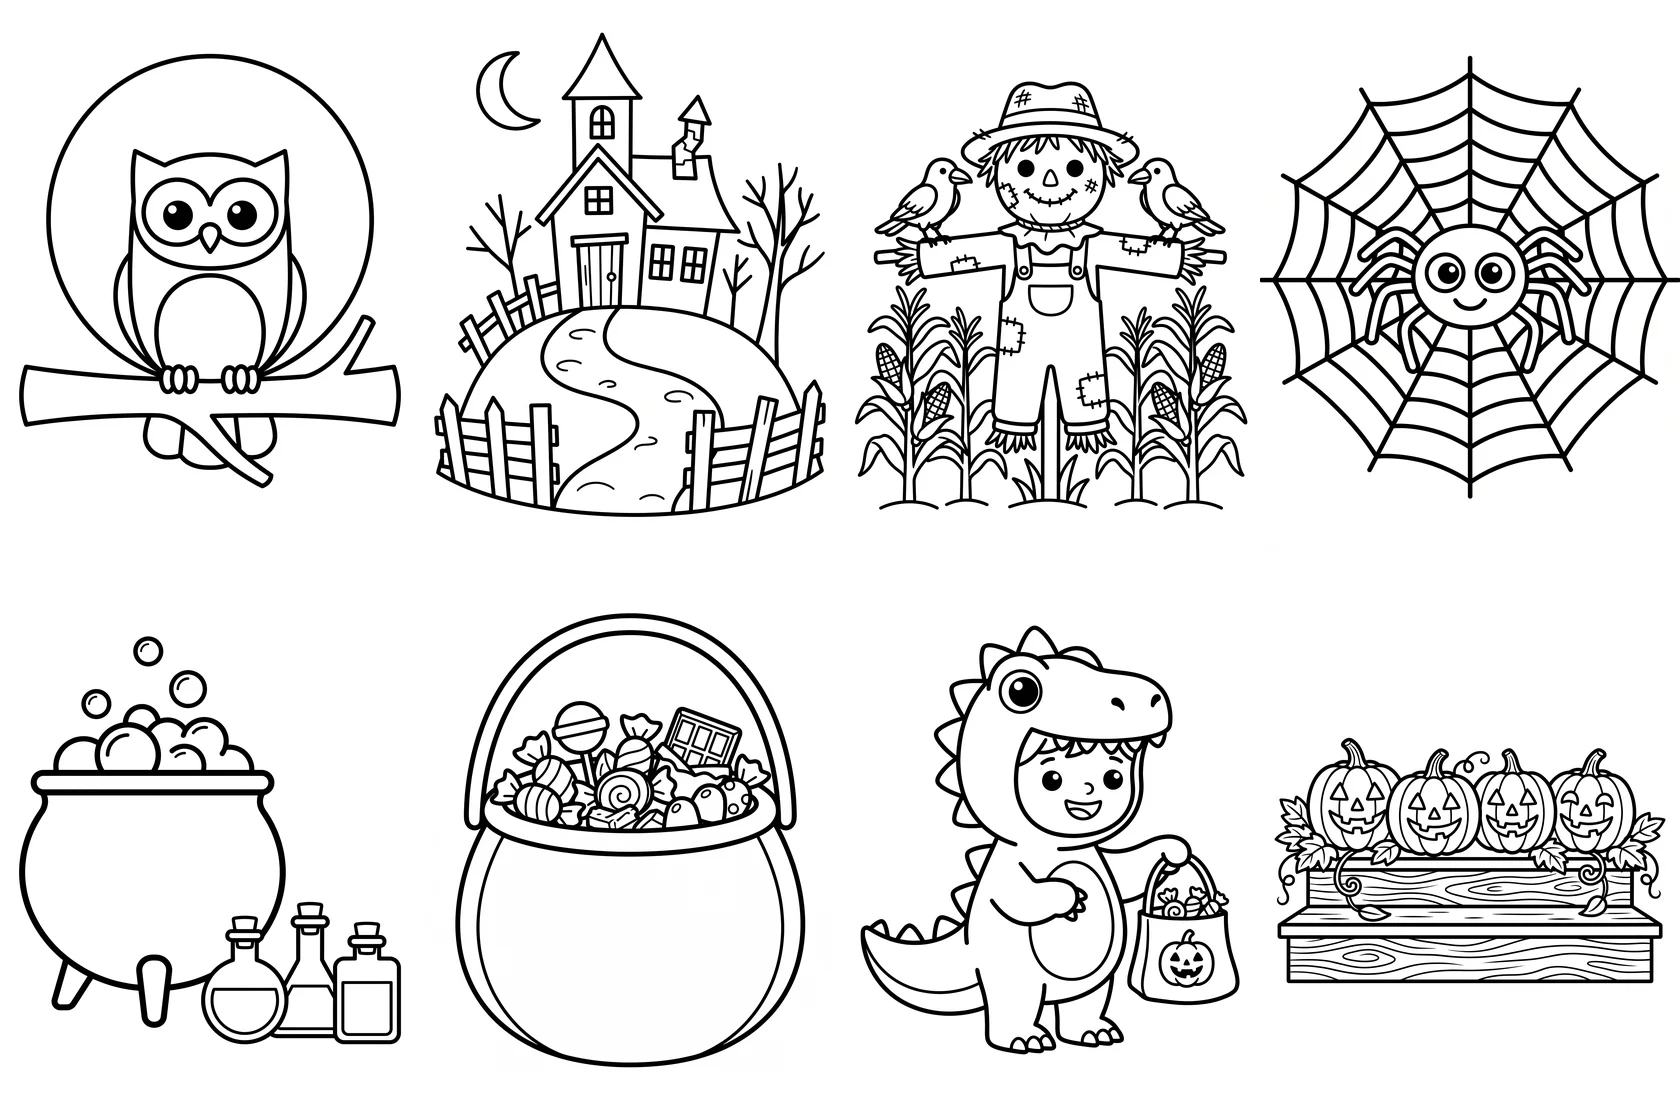
This guide shows how to make a coloring book with AI as a single job: write the page list once, lock the style with one approved page, run every page in one batch, and download the whole book at print size. Every page in this post is from one test book we made this way — a Halloween book for ages 4 to 8.
Genera por lotes
Un prompt por línea, cientos de imágenes, un ZIP para descargar.
What makes a coloring page work#
Before writing a single prompt, decide what a good page looks like. These five rules are what separates a printable page from a pretty picture, and each one goes into the prompt below.
- Closed, clean outlines. Every shape needs a line all the way round, or crayon has nowhere to stop.
- No gray, no shading, no solid black. Models love to add shadows and filled pupils. A coloring page is white paper with black lines and nothing else.
- Line weight for the age. Thick, simple lines and big shapes for young children; thin lines and fine patterns for adult books. Pick one and keep it for the whole book.
- One subject, room around it. One main character in the middle and a simple scene behind it. Leave a wide white margin so nothing gets lost when you print or trim.
- No text on the page. Titles and page numbers belong in your layout, not in the drawing — models misspell, and a stray word ruins a page.
Step 1: Write the page list#
A coloring book is a list: one line per page. Decide the theme and the age group, then write down the subjects, one per line — an owl, a haunted house, a scarecrow, a cauldron. Give each page a small scene so the book does not feel like forty objects floating on white paper: an owl on a branch in front of a full moon, a scarecrow in a cornfield with crows on its arms.
Short on ideas? Type one sentence into the prompt box — a 12-page Halloween coloring book for ages 4 to 8 — and click Write with AI. It writes one prompt per page; check the list, then click Fill the form. Writing the list costs no credits.
Step 2: Put one style block on every line#
Each line is sent to the model on its own. The model never sees the other pages, so the style has to be written into every line, word for word. Write the style once, then add it to each subject:
An owl sitting on a branch in front of a full moon. Children's coloring book page for ages 4 to 8, black and white line art only, thick clean closed outlines, simple shapes, no shading, no gray, no solid black areas, pure white background, one main subject in the centre, wide empty white margin on every side, no text, no border
A haunted house on a hill with a crooked fence and a winding path. Children's coloring book page for ages 4 to 8, black and white line art only, thick clean closed outlines, simple shapes, no shading, no gray, no solid black areas, pure white background, one main subject in the centre, wide empty white margin on every side, no text, no border
A scarecrow in a cornfield with two crows sitting on its arms. Children's coloring book page for ages 4 to 8, black and white line art only, thick clean closed outlines, simple shapes, no shading, no gray, no solid black areas, pure white background, one main subject in the centre, wide empty white margin on every side, no text, no border
Two habits make the difference:
- Never paraphrase the style. "Thick clean closed outlines" on one line and "bold lines" on the next is two different books.
- Say what you don't want. "No shading, no gray, no solid black areas" does more for printability than any amount of "high quality".
For an adult book, swap the style block, not the method: intricate line art, fine detailed patterns, thin even lines, no shading, no gray, pure white background.
Step 3: Lock the look with a reference page#
The style block gets the pages close. A reference page makes them match. For our test book we made the owl page first, then ran the other seven pages with it as the reference.
- Make the first page on its own. Run one line, and re-run it until the line weight and level of detail are exactly what you want for the whole book. This page is your style sheet.
- Upload it as a reference image for the rest of the book and choose Per image — the reference is paired with every line in the list, so each page is drawn from its own prompt while copying the look of the approved page.
- Add one sentence to every line that says what to copy and what not to: match the line weight, level of detail and drawing style of the reference image; draw only the new subject described here. Without the second half, models sometimes redraw the reference subject.
Step 4: Check the settings and the estimate#
Four settings decide how the book prints:
- Aspect ratio 3:4. It is the closest ratio to a portrait book page and crops cleanly to US Letter or A4 on download (Step 6).
- Resolution 2K or higher. Pages are printed large; line art upscaled from a small image looks soft at the edges. Our 2K pages came out at 1792 × 2400 px and still looked clean stretched to US Letter; 4K gives more headroom.
- Images per combo 1. One drawing per page. A higher number draws every page several times — useful only when you want to pick the best of several.
- Model. Our test book used Nano Banana Pro at 2K, 6 credits a page; it held the style well and never added gray. Our models page compares price and style for every model.
The form shows the total before anything is charged — Will generate 7 images · 42 credits for the seven pages after the owl — and credits are spent only when you press Start batch. Each plan has a per-batch image limit; for a long book, run one batch per chapter. Pricing lists the limit for each plan.
Step 5: Check every page#
Our test book came back clean: no gray fills, no stray letters, closed outlines, and every page in the same thick-line style. Two things were not perfect, and they are typical. The busier scenes — the scarecrow in the corn and the pumpkins on the porch — picked up thinner inner lines (pumpkin ribs, wood grain, a cross-hatched corn cob) that are harder for a young child to colour than the simple owl. And every character kept small solid-black pupils even though the prompt said "no solid black areas"; on a kids' book that reads as friendly, not as a mistake. If a page is busier than the rest, re-run it with "fewer, larger shapes".
Look at each page for four things before it goes in the book:
| Problem | How to spot it | Fix |
|---|---|---|
| Gray fills or shading | Zoom in on eyes, shadows and night skies | Try again on that page; add "no gray" if it keeps coming back |
| Open outlines | Gaps where colour would leak | Try again, or accept small gaps for older children |
| Extra text | Letters on signs, gravestones or candy wrappers | Add "no letters, no signs" to that line |
| Too busy for the age | Tiny details a 5-year-old can't colour | Ask for "fewer, larger shapes" on that line |
Try again re-draws just one page and leaves the rest of the book untouched.
Step 6: Download the book at print size#
Download all gives you every page in the order of your list. To get pages ready for print instead, open the batch, click Select & edit, then Select all, and under Size choose US Letter · 300dpi (2550 × 3300 px) or A4 print · 300dpi (2480 × 3508 px). A crop box appears on each page so you can see exactly what will be kept; with a wide margin in the prompt, nothing important is cut. Then Download ZIP.
Every page comes out at the exact pixel size of the paper, numbered in book order, ready to drop into your book layout.
Common mistakes#
| Mistake | What happens | Fix |
|---|---|---|
| Style written differently on each line | Pages look like they came from different books | Copy the style block word for word |
| No reference page | Line weight drifts from page to page | Approve page 1, then run the rest with it in Per image mode |
| "High quality" instead of "no shading" | Gray shadows that print as smudges | Ask for black lines on white, and nothing else |
| No margin in the prompt | Drawings get cut when cropped to the paper | Ask for a wide empty white margin |
| Text in the drawing | Misspelled words on the page | "No text" in the style block; add titles in your layout |
A checklist for your first book#
- One theme, one age group, one line per page.
- The same style block on every line, including what you don't want.
- Page 1 approved, then used as a reference in Per image mode.
- 3:4, 2K or higher, images per combo 1, estimate read before Start batch.
- Every page checked for gray, gaps, text and detail level.
- Downloaded at US Letter or A4, 300 dpi, in book order.
FAQ#
Can I make a whole coloring book from one prompt? For a quick set on one theme, yes: the AI coloring page generator turns one theme into a batch of pages. For a book where every page has its own scene, use a list — one line per page — as shown here.
How many pages can I make at once? As many as your plan's per-batch limit allows, and you can run several batches. See pricing.
Which model is best for coloring pages? Any model that follows "no shading, no gray" closely. Our test book used Nano Banana Pro at 2K and every page came back as clean black line art; try your style block on two or three pages before running the whole book. The models page lists price per image for each.
Do I need to know how to write prompts? No. Use Write with AI to turn one sentence into a page list, add the style block, and follow the steps above. If your list is already in a spreadsheet, see our guide to generating images from a list of prompts.
Can I keep the same character on every page? Yes — make one clean drawing of the character first and use it as the reference. Our guide to consistent character AI images covers the details. When your page list is ready, run the first chapter in the bulk image generator as a test.